
Fuel filter removal tool pliers are made for one job: releasing fuel-line quick-connect fittings without chewing up plastic clips, rounding metal tabs, or turning a simple filter swap into a leak chase.
If you’ve ever fought a stubborn connector under a truck, you know the real pain isn’t the filter, it’s access, brittle retainers, and the fear of cracking a line you can’t easily replace. The right pliers don’t just “make it easier”, they reduce the odds of collateral damage.
There’s also a lot of confusion because “fuel line tools” gets used for everything from scissor pliers to disconnect rings to specialty jaw designs. This guide helps you pick the right style, use it without breaking fittings, and decide when it’s smarter to stop and get help.
What fuel filter removal tool pliers actually do (and what they don’t)
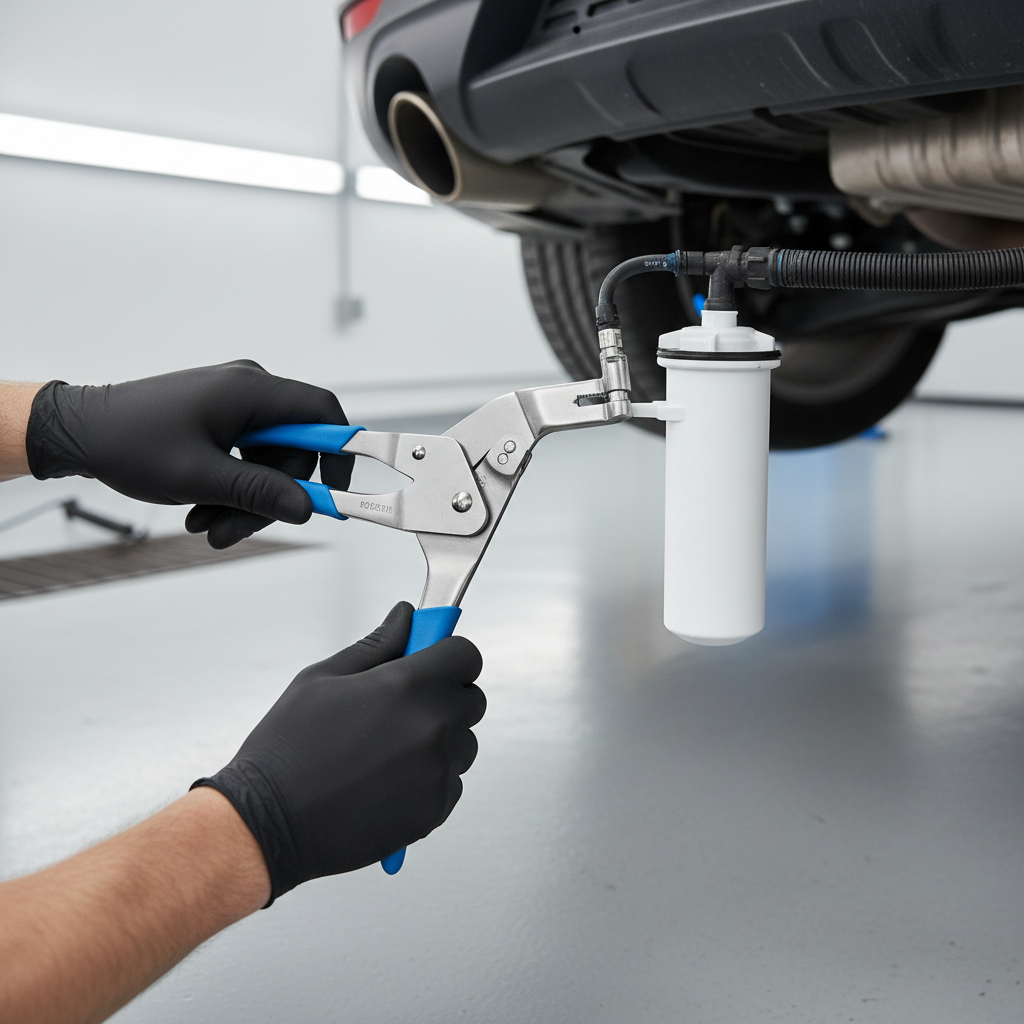
Most modern fuel filters connect to the fuel line with a quick-connect fitting, a coupling that locks with internal fingers and a small retainer. The pliers apply even pressure to release that retainer so the line slides off straight.
What they don’t do: compensate for corrosion, incorrect parts, or a connector that’s already cracked. If the fitting is damaged or the line is swollen from heat/age, pliers can’t “fix” that, they only help you separate parts cleanly.
- Best at: reducing slipped tools, uneven force, and broken plastic clips
- Not a substitute for: relieving fuel pressure, correct replacement filter/fittings, or line inspection
Why connectors fight you: common real-world causes
When a connector refuses to release, it’s usually not because you’re weak, it’s because something in the joint is working against you.
- Dirt packed in the fitting: grit jams the retainer and makes it feel “locked”. Cleaning helps more than extra force.
- Rust and oxidation: on metal lines or brackets, the connector can bind at an angle.
- Heat-cycled plastic: older retainers get brittle, so prying with a screwdriver often snaps them.
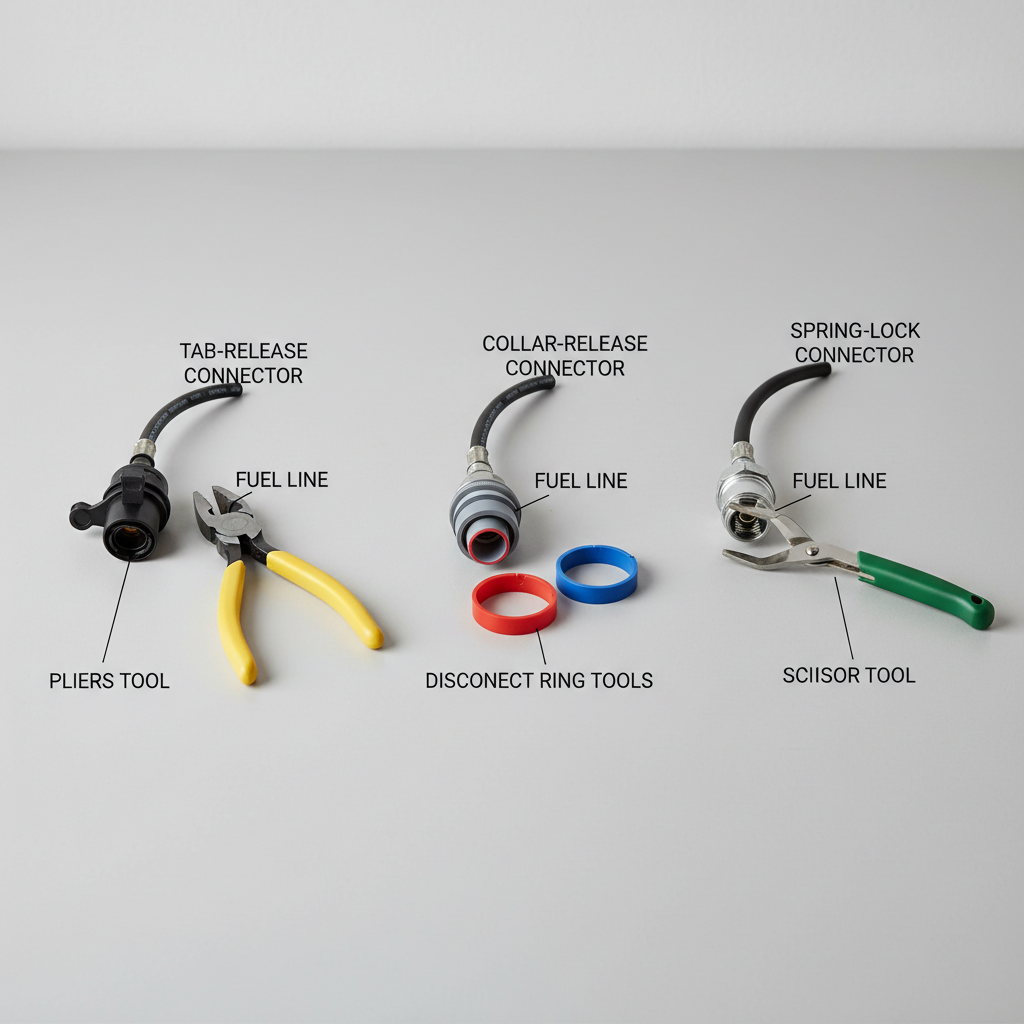
- Wrong tool geometry: some fittings prefer a disconnect ring, others respond better to pliers that squeeze specific tabs.
- Side-load from tight access: if the line is pulled sideways while you release it, it re-locks itself.
Quick self-check: do you need pliers, a ring tool, or both?
Before you buy another tool, take 30 seconds and identify what you’re dealing with. Many DIYers end up with the “right quality” tool in the wrong style.
- If you see a circular collar that needs to be pushed into the fitting, a disconnect ring set often works.
- If you see two plastic tabs you pinch to release, pliers are usually the cleanest option.
- If you can’t see the retainer at all because it’s buried, pliers with a long nose and narrow jaws tend to beat stubby tools.
- If you already broke a clip, stop and inspect. Forcing it can turn a $10 clip into a line replacement.
One more practical tell: if your vehicle uses multiple connector sizes, a small kit can be cheaper than buying a single “perfect” plier and still ending up stuck.
Buying guide: what matters in fuel filter removal tool pliers
Price matters less than fit and control. A tool that aligns properly saves time and prevents those “I almost had it” slips.
Features worth paying for
- Jaw shape that matches your fitting: look for narrow, precise jaws for tight spaces.
- Non-marring contact points: smoother edges reduce gouging on plastic retainers.
- Spring-loaded handles: helpful when you’re working one-handed under the car.
- Good pivot and minimal flex: cheap pivots twist, and twisting breaks tabs.
Fitment notes that trip people up
- Some tools list line sizes in inches or millimeters, but the connector design still varies by OEM.
- On certain setups, you may need to push the line inward before you can release it outward, the tool alone won’t overcome that preload.
Tool options at a glance (table)
This isn’t about brands, it’s about picking the category that matches your connector and workspace.
| Tool type | Works best for | Pros | Watch-outs |
|---|---|---|---|
| Pliers (tab-release) | Pinch-tab quick-connects | Control in tight spaces, less slipping | Wrong jaw shape can crack tabs |
| Disconnect ring set | Collar-release style fittings | Cheap, multiple sizes | Easy to cock sideways, can bind |
| Scissor-style disconnect tool | Hard-to-reach connectors | Leverage and alignment | Bulky around brackets and shields |
| Pick/screwdriver improvisation | Almost never ideal | Available in a pinch | High risk of breaking retainers and sealing surfaces |
How to use fuel filter removal tool pliers safely (step-by-step)
Fuel filter removal tool pliers work best when you treat the connector like a precision latch, not a stuck bolt. If you’re forcing it, something’s off.
- 1) Depressurize the fuel system: follow the service manual for your vehicle. If you’re unsure, a shop can confirm the correct method.
- 2) Clean the area: brush off dirt and spray a little cleaner where appropriate, debris is a common reason the retainer won’t move.
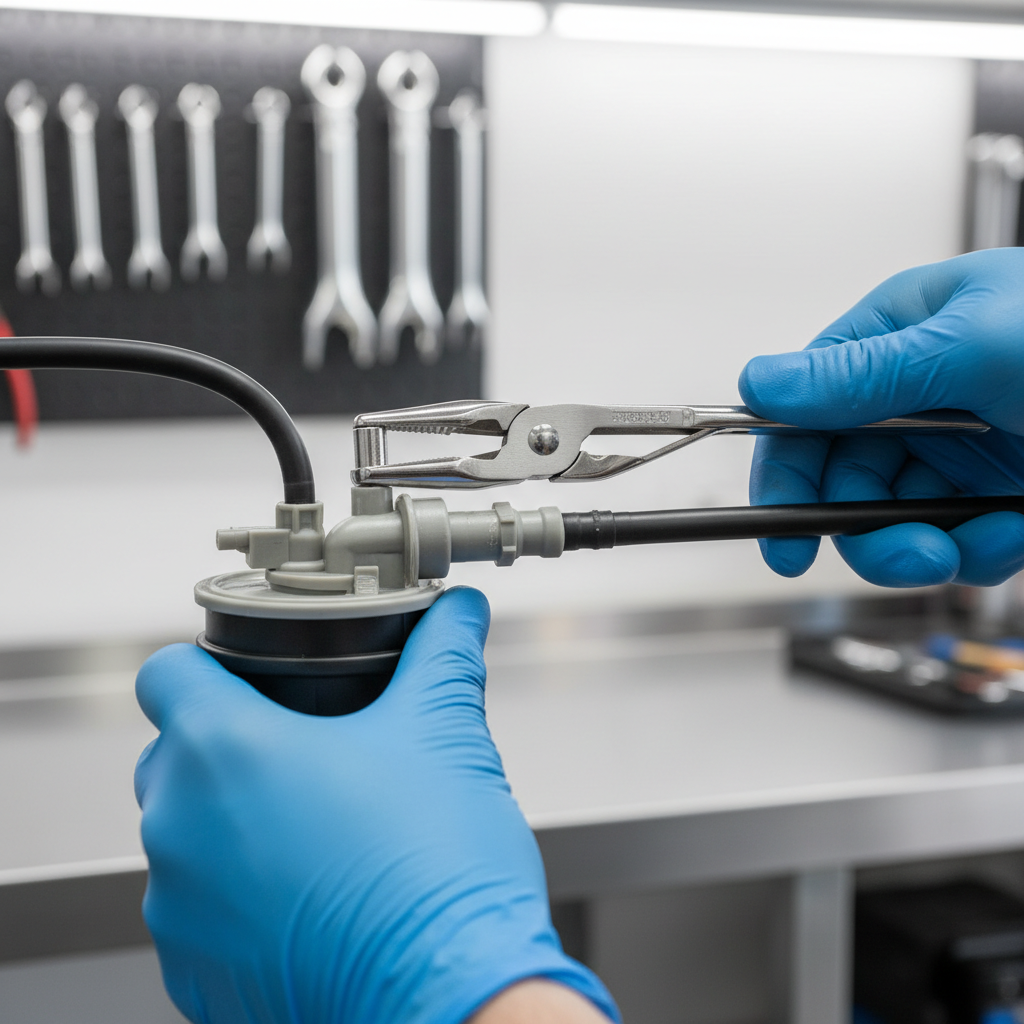
- 3) Push the line in slightly: this unloads the locking fingers, making release easier.
- 4) Seat the pliers squarely: jaws should contact the release tabs evenly. If you’re off-angle, reset.
- 5) Squeeze, then pull straight: keep the line aligned with the filter nipple, avoid twisting unless the manual allows it.
- 6) Inspect seals and retainers: look for cracks, flattened O-rings, or missing clips before reassembly.
According to NIOSH, reducing exposure to gasoline vapors and avoiding skin contact are important safety practices when working around fuels, so use gloves and work in a ventilated area.
If you smell strong fuel or see wetness around the joint after reconnecting, don’t “wait and see”. Shut it down and re-check the connection, leaks can escalate quickly.
Practical troubleshooting when it still won’t release
This is where most DIY jobs stall. A few small adjustments often beat brute force.
- It releases but won’t slide off: keep the release engaged and push in again, then pull straight out. Binding usually comes from side-load.
- Tabs feel mushy or crackly: the retainer may be heat-brittle. Plan for a replacement clip, and avoid prying.
- Tool keeps slipping: confirm you have the right jaw profile, wipe away fuel/oil film, and re-seat squarely.
- Corrosion at the line: light penetrating oil can help in some cases, but keep chemicals away from rubber seals when possible.
Also, don’t ignore access. Sometimes removing a shield or bracket takes five extra minutes and saves an hour of frustration and broken plastic.
Common mistakes that create leaks (and how to avoid them)
- Pulling at an angle: quick-connects want straight-line separation, angled force chews up the sealing surface.
- Reusing damaged O-rings: if the seal looks nicked, flattened, or swollen, replace it with the correct spec.
- Mixing up connector styles: a ring tool on a tab connector often ends with broken tabs.
- Skipping the “click” check: after reconnection, tug lightly to confirm it locked, then re-check for seepage after priming.
According to EPA, gasoline should be handled carefully to reduce spills and vapor exposure, so keep rags ready, avoid open flames, and dispose of fuel-soaked materials appropriately.
When to stop and get professional help
If any of the following shows up, it’s usually cheaper to pause than to keep forcing it:
- You see cracks in the fitting body or the line end
- The connector will not re-lock securely after removal
- Fuel drips or sprays during priming, or a strong odor persists
- The filter sits near a hot exhaust section and access forces awkward angles
A qualified mechanic can pressure-test the system and confirm the correct parts. That’s especially relevant on high-pressure fuel-injection setups, where small sealing issues can become bigger problems.
Key takeaways and next steps
Fuel filter removal tool pliers are worth it when your vehicle uses pinch-tab quick-connects or when access makes slips likely. Match the jaw design to the connector, depressurize properly, clean the fitting, and pull straight, those steps do more than raw hand strength.
If you want one action to take today, identify your connector style and buy the tool that matches it, then do a quick inspection plan for clips and seals before you start. That’s the difference between a tidy afternoon job and a “why is it leaking” evening.
FAQ
What are fuel filter removal tool pliers used for?
They’re used to release quick-connect fuel line fittings, especially pinch-tab designs, with even pressure so the connector comes off without snapping tabs or gouging plastic.
Do I always need pliers, or will a disconnect ring work?
It depends on the connector. Collar-release fittings often prefer ring tools, while pinch-tab fittings usually respond better to pliers that squeeze both tabs evenly.
Why won’t my quick-connect fuel line come off even with the tool?
Most of the time it’s dirt, side-load, or preload in the connection. Cleaning and pushing the line inward slightly before releasing often changes everything.
Can I use regular slip-joint pliers instead?
You can try, but it’s risky. Regular pliers tend to apply uneven force and can crush plastic retainers, which may create leaks or require replacing clips and fittings.
Is it normal for fuel to spill when removing a fuel filter?
A small amount may spill, but spraying or heavy flow suggests pressure wasn’t relieved or a line routing/connection differs from what you expected. If you’re unsure, consult a professional.
How do I know the fuel line is fully reconnected?
You should feel or hear a positive lock, then a gentle tug should confirm it holds. After priming the system, check carefully for seepage or odor before driving.
What size fuel line disconnect tools do I need?
Common kits cover several sizes, which helps because vehicles can use different connectors in the same system. Checking your service manual or parts listing usually prevents guesswork.
If you’re working in a tight driveway space and you’d rather avoid trial-and-error, a small approach that often saves time is choosing a tool set that covers both pliers and ring-style disconnects, then matching the tool to the connector before you put any force into it.