
how to assemble a basic home tool kit usually comes down to one thing: buying a few reliable essentials that cover most small repairs, instead of chasing every “nice-to-have” tool you might use once.
If you’ve ever borrowed a screwdriver, used a kitchen knife as a scraper, or stopped mid-project because you didn’t have the right bit, you already know the pain. A simple kit saves time, prevents damage, and makes quick fixes feel… normal, not intimidating.
This guide keeps it practical: what to buy first, what can wait, and how to choose tools that won’t round screws or slip in your hand. You’ll also get a quick self-check, a shopping table, and an upgrade path once you know what you actually use.
What “basic” really means (and what it doesn’t)
A basic home kit is meant for frequent, low-risk tasks: tightening hardware, hanging frames, assembling furniture, small plumbing touch-ups, and minor patching. It’s not a substitute for specialty trades.
According to OSHA, using the right tool for the job and keeping tools in good condition reduces injury risk and prevents tool failure. That’s a fancy way of saying: don’t force a tiny screwdriver into a big fastener, and don’t keep using a cracked handle because “it still works.”
- Good “basic” coverage: screws, nails, measuring, gripping, light cutting, finding studs, basic leveling.
- Usually not included: table saws, advanced electrical testers, pro-grade plumbing crimpers, or anything you don’t feel safe using.
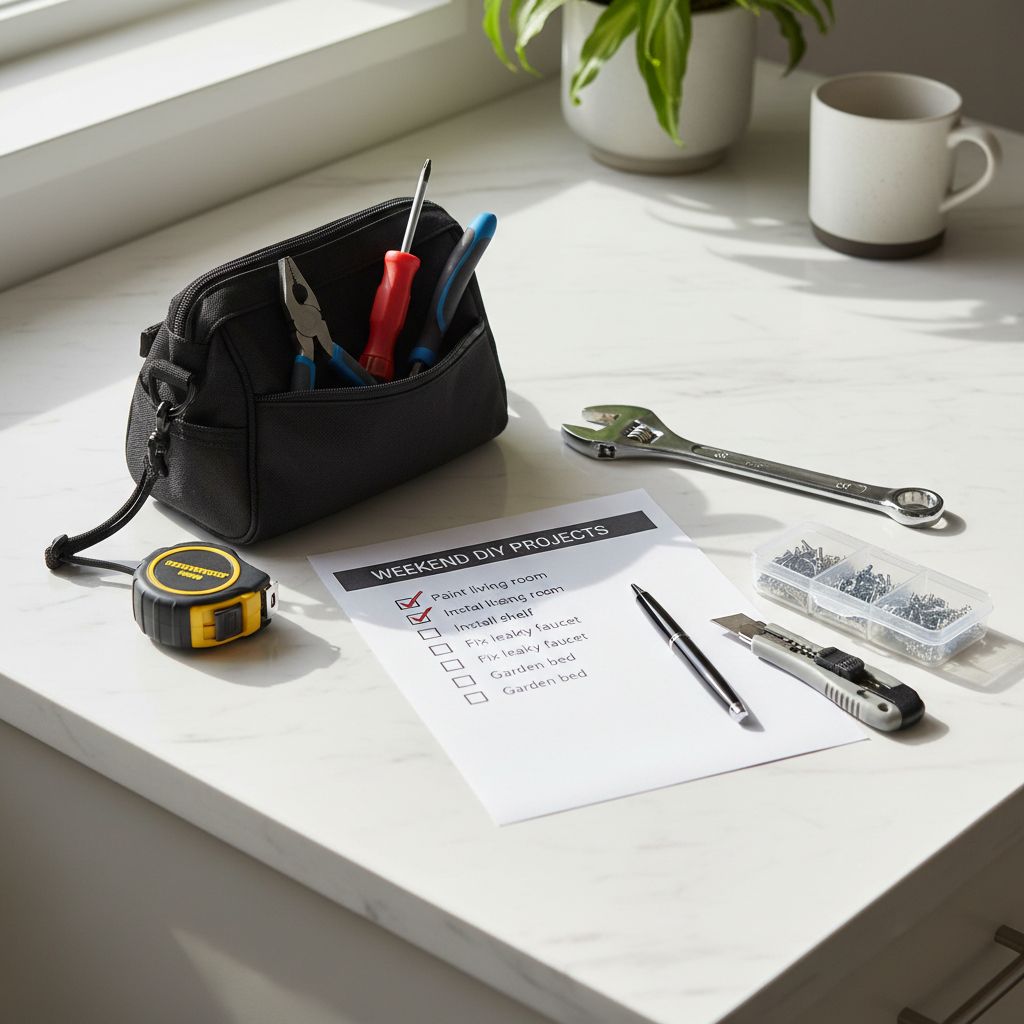
Start with the jobs you actually have at home
Before you buy anything, do a quick scan of your living space and list the repairs you’ve been putting off. This keeps your cart honest and helps you avoid duplicates.
Fast self-check (2 minutes)
- Do you assemble flat-pack furniture or move often?
- Do you hang shelves, curtains, TVs, or picture frames?
- Do you have older doors, cabinets, or loose hinges?
- Do you do basic yard or patio upkeep?
- Do you handle small leaks or clogs, or do you always call someone?
If you answered “yes” to 2–3 of these, a simple set of hand tools plus a drill driver (optional) will cover most needs. If you answered “no” to nearly all, buy the hand-tool core first, then build slowly.
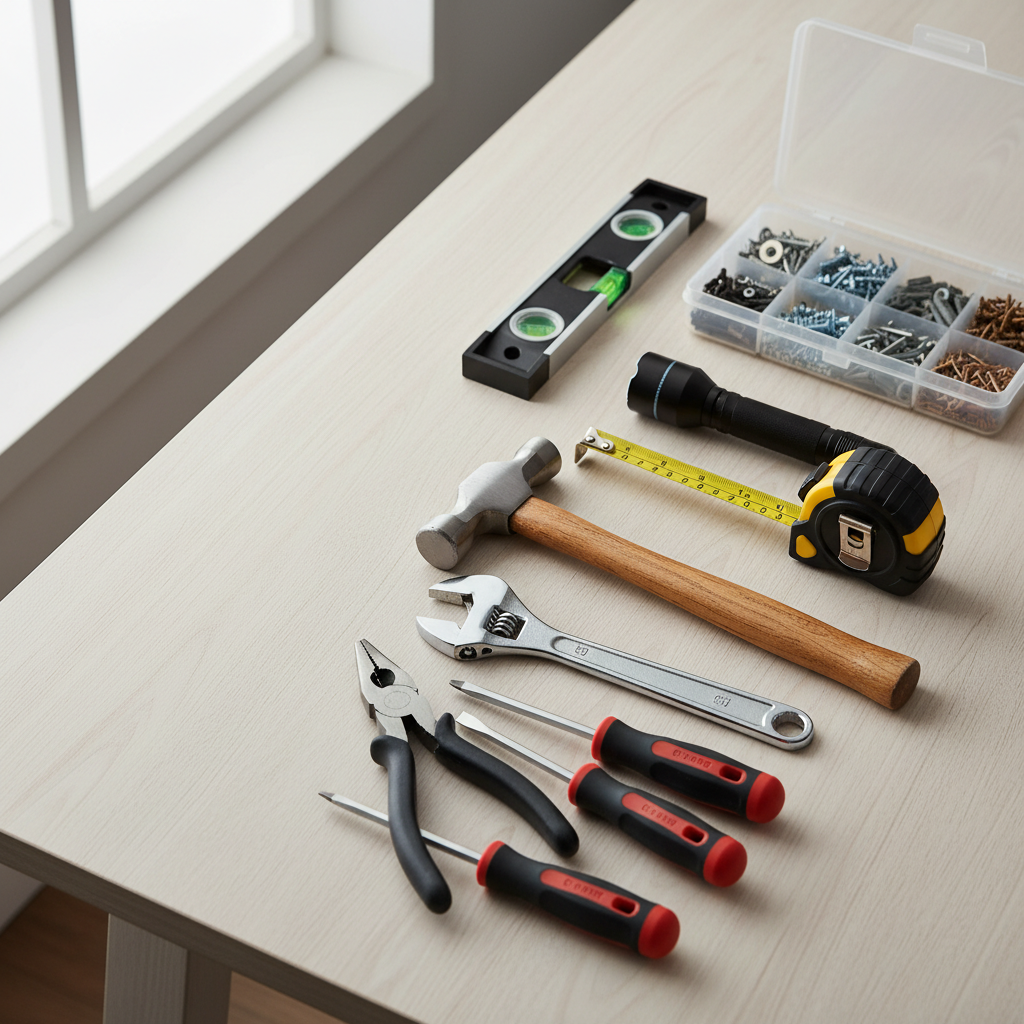
The essential tools list (the real starter kit)
Here’s the core kit that tends to solve the most common “home stuff” without feeling like you’re stocking a garage workshop. If you’re learning how to assemble a basic home tool kit, this is the center of the bullseye.
Hand tools you’ll use constantly
- Claw hammer (16 oz) for nails and light prying.
- Tape measure (16–25 ft) with easy-to-read markings.
- Multi-bit screwdriver (Phillips + flat) or a small set of quality screwdrivers.
- Hex key set (SAE + metric) for furniture and fixtures.
- Adjustable wrench for nuts/bolts when you don’t have exact sizes.
- Pliers set: slip-joint pliers + needle-nose pliers for gripping and bending.
- Utility knife with extra blades for clean cuts.
- Bubble level (9–12 in) for frames and shelves.
Small items that save your day
- Assorted fasteners (a small organizer with picture hooks, drywall anchors, screws).
- Painter’s tape for marking and quick alignment.
- Flashlight or headlamp because most “quick fixes” happen in dark corners.
- Safety gear: work gloves + safety glasses for splinters and debris.
A simple shopping table (buy once, cry less)
Not everything needs to be top-shelf, but the tools that touch fasteners and your hands all day should feel solid. Cheap drivers strip screws, cheap pliers slip, and that’s where frustration starts.
| Category | What to buy | What to look for | Common mistake |
|---|---|---|---|
| Screwdriving | Multi-bit driver + bit set | Magnetic tip, comfortable grip, hardened bits | Soft bits that cam-out and strip screws |
| Measuring | 16–25 ft tape measure | Lock that holds, clear markings, sturdy hook | Tiny tape measure that won’t stand out |
| Gripping | Slip-joint + needle-nose pliers | Jaws align cleanly, no wobble at the pivot | One “mystery pliers” tool trying to do everything |
| Wrenching | Adjustable wrench | Minimal jaw play, smooth adjuster | Loose jaws that round nuts |
| Hanging & leveling | Level + stud finder (optional) | Easy vial visibility, stud finder with clear indicators | Skipping studs on heavy mounts |
| Cutting | Utility knife + spare blades | Stable lock, blade changes that feel secure | Dull blade used “a little longer” |
| Storage | Small tool bag or case | Stiff base, easy carry, pockets that fit drivers | Loose pile in a drawer (tools go missing) |
Step-by-step: assembling your kit without overbuying
If you want a clean approach to how to assemble a basic home tool kit, build it in layers. You’ll end up with fewer unused items and a kit that matches your home.
Layer 1: The “I can fix most things” core
- Multi-bit screwdriver, hammer, tape measure
- Pliers (two types), adjustable wrench
- Utility knife, small level
- Flashlight, gloves, safety glasses
Layer 2: The hanging and hardware add-on
- Assorted screws, picture hooks, drywall anchors
- Stud finder (helpful for heavier items)
- Small torpedo level or laser level if you hang often
Layer 3: The “I do projects” upgrade (optional)
- Cordless drill/driver with a basic drill-bit set and driver bits
- Socket set (especially if you work on bikes, furniture, or appliances)
- Adjustable pipe wrench or tongue-and-groove pliers for plumbing tasks
Buying tip that saves money: add tools after you hit a real need twice. The first time is a guess, the second time is a pattern.
Practical safety and “don’t regret it” tips
Home tools look harmless until something slips. Treat the basics with respect, and you’ll avoid most mishaps.
- Use the right size bit so the driver seats fully in the screw head.
- Cut away from your body when using a utility knife, and replace blades early.
- Wear eye protection for drilling, hammering, or anytime debris can pop loose.
- Know your limits: if you’re unsure about electrical panels, gas lines, or structural changes, pause and get qualified help.
According to CPSC, many household injuries relate to everyday products and misuse, so it’s worth slowing down when you feel rushed. If a step feels sketchy, it probably is.

One more real-world thing: label a small container for “wall anchors and screws you trust.” When you find a brand/type that holds well in your walls, don’t mix it with random leftovers.
Common mistakes when building a basic kit
- Buying a 200-piece kit full of filler: you’ll get duplicates and oddball bits instead of better core tools.
- Skipping storage: if tools aren’t easy to find, you stop using them and revert to hacks.
- Ignoring your home type: apartments often need picture-hanging and furniture tools, older homes may need more wrenching and patching supplies.
- Assuming “one wrench fits all”: adjustable wrenches help, but some jobs are safer with correctly sized sockets.
If your goal is how to assemble a basic home tool kit that lasts, prioritize comfort and fit. A tool you hate holding becomes a tool you avoid, and then it’s just clutter.
When to consider professional help (and why that’s normal)
There are a few categories where DIY can go from “simple” to “expensive” fast. Many homeowners draw a clear line here, and it’s a sensible line.
- Electrical: anything beyond swapping a lightbulb or resetting a breaker, especially if you’re unsure what circuit you’re on.
- Gas: smell of gas, new appliance hookups, or line changes.
- Major plumbing leaks: active water damage, burst pipes, or repeated leaks that return after a quick fix.
- Structural: cutting studs, removing walls, or mounting heavy items without clear support.
If you’re on the fence, it can help to consult a licensed pro for a quick assessment, then keep your tool kit focused on the safe, repeatable tasks you want to own.
Key takeaways and a simple next step
A smart kit isn’t huge, it’s useful. When you build around common tasks and add upgrades only after you see a real pattern, you end up with tools that earn their spot.
- Buy the core hand tools first, then expand based on your home and habits.
- Choose better drivers and pliers than you think you need, they prevent the most annoyance.
- Store it well so the kit stays a habit, not a scavenger hunt.
Action step: open a notes app, list the last three fixes you attempted, then buy only the tools that would have made those jobs clean and easy. That’s the most honest way to assemble your first kit.