
Basin wrench for sink repair is the tool most people wish they had the moment they realize their hands (and a regular wrench) simply won’t fit behind a bathroom faucet. If you’re dealing with a loose faucet, replacing supply lines, or swapping a drain assembly, that cramped space under the sink is usually the whole problem.
The good news is a basin wrench is built for exactly this: reaching up behind the sink and gripping the hard-to-access mounting nuts that hold faucets in place. Used correctly, it saves time, reduces scraped knuckles, and lowers the chance you over-torque something and end up with a leak you didn’t start with.

What trips people up is assuming any adjustable wrench can do the same job, or forcing the wrong angle until the nut rounds off. This guide breaks down when a basin wrench matters, what to look for when buying one, and a practical, no-drama way to use it under a typical US bathroom sink.
Why a basin wrench matters for bathroom sink repairs
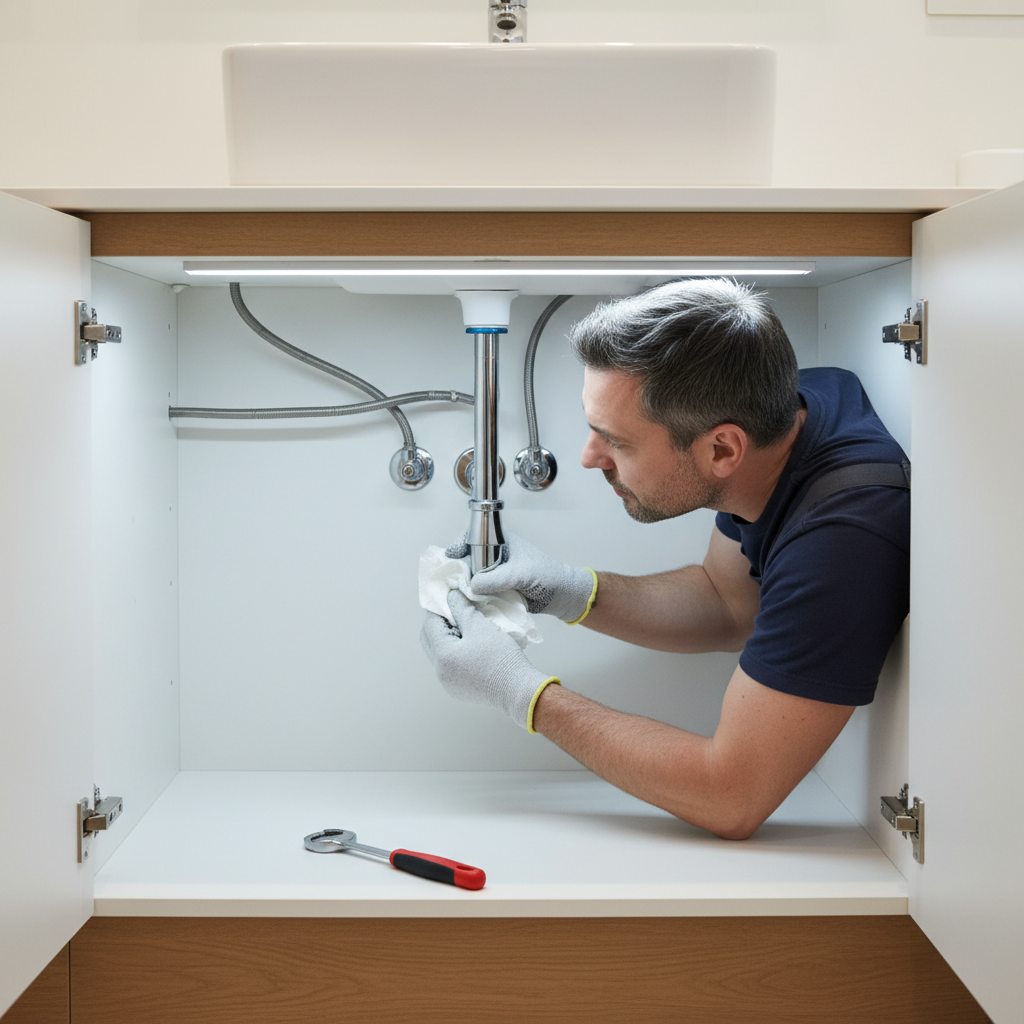
Most bathroom sink repairs happen in the worst working position: crouched, reaching up, with low visibility. Faucet mounting hardware sits behind the basin, often inches from the wall, and many nuts are plastic, thin brass, or corroded metal that doesn’t tolerate abuse.
- Access is the real issue: standard wrenches can’t align with the nut, so you slip and round edges.
- Leverage is uneven: you end up applying force at a bad angle, stressing the faucet shank or supply lines.
- Old installations fight back: mineral buildup, corrosion, and thread sealant can make a simple loosen-and-tighten job feel impossible.
According to OSHA, hand-tool injuries often come from using the wrong tool or using a tool incorrectly, especially when force and awkward positioning combine. In plain terms, the right tool reduces both frustration and risk.
Quick self-check: do you actually need a basin wrench?
Not every under-sink job requires one. If you can get a socket on the nut cleanly, a basin wrench may stay in the drawer. But many bathroom setups in the US are tight enough that it becomes the most practical option.
- You can’t fit your hand and a wrench behind the faucet body at the same time
- The mounting nut sits high on the shank and close to the backsplash or wall
- The nut is partially blocked by supply lines, a pop-up drain rod, or a divider panel in the vanity
- You tried an adjustable wrench and it keeps slipping off
- You see a long, thin nut (common on some faucet designs) and you can’t get square contact
If two or more match your situation, a basin wrench for sink repair is usually the faster, cleaner choice.
Choosing the right basin wrench (and what to ignore)
A lot of basin wrenches look similar online, but small details change how well they work in a bathroom vanity.
What to look for
- Jaw design that grips both ways: a spring-loaded jaw that bites when you turn in the loosen or tighten direction helps in cramped angles.
- Telescoping handle: extra reach is helpful, but you still want control when re-tightening.
- Comfortable crossbar: you’ll be applying force with your wrists at odd angles, so a decent grip matters.
- Build quality: bathroom plumbing hardware is easy to strip, so the wrench should grip firmly without chewing everything up.
A quick comparison table
| Option | Best for | Upside | Trade-off |
|---|---|---|---|
| Standard basin wrench | Most faucet mounting nuts | Simple, reliable, affordable | Less helpful on specialty fasteners |
| Telescoping basin wrench | Deep vanities, hard reach | More reach, better angles | Too much leverage can over-tighten |
| Faucet nut tool (plastic) | Some modern faucet installs | Lightweight, easy on plastic nuts | Limited torque, not universal |
| Deep socket + extension | When you have straight access | Controlled tightening | Often impossible behind a sink bowl |
How to use a basin wrench for sink repair (step-by-step)
Basin wrench for sink repair works best when you slow down and set it up correctly. The common mistake is rushing, grabbing the nut at a half-angle, and then wondering why nothing moves.
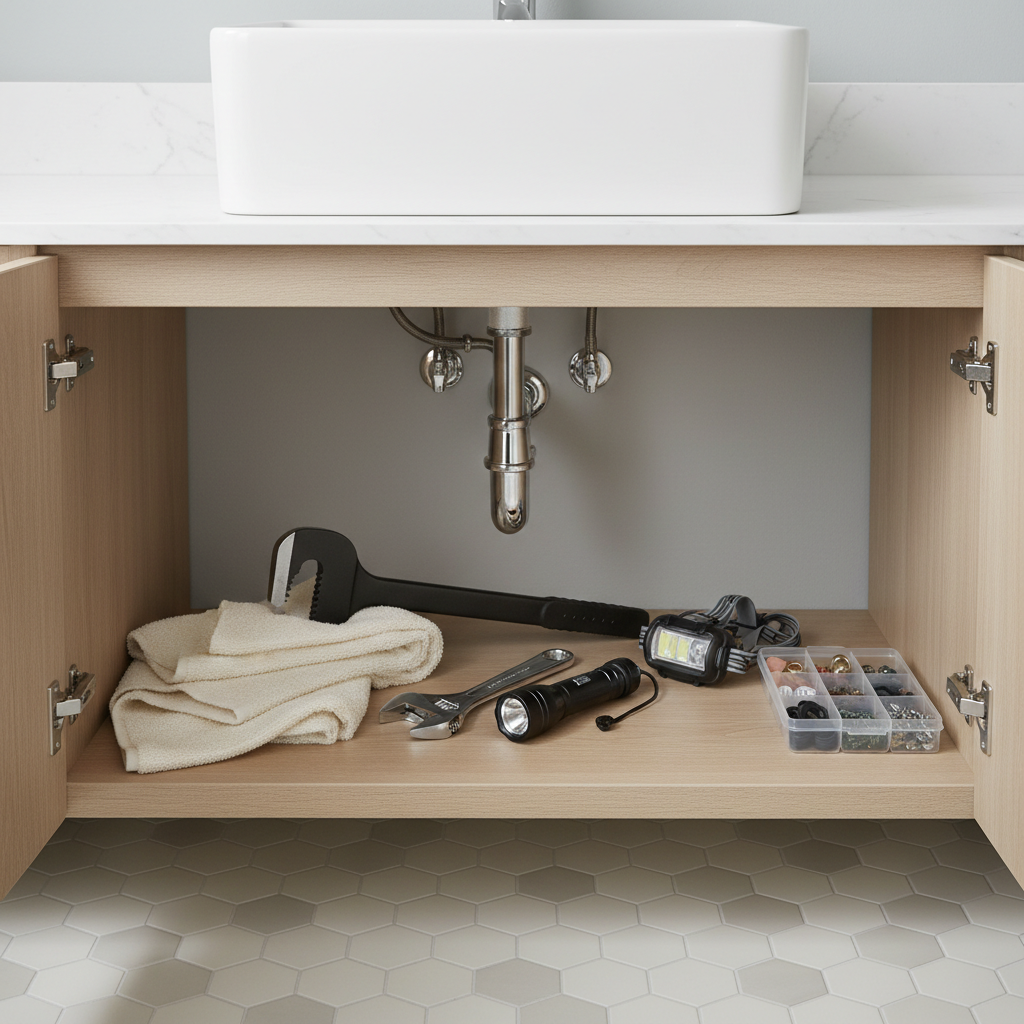
1) Prep the space so you can actually work
- Clear the cabinet and lay down a towel or small tray for dropped parts.
- Use a headlamp or bright work light; seeing the nut matters more than brute force.
- If you’re touching supply lines, shut off the hot/cold valves and open the faucet to relieve pressure.
2) Seat the jaws fully on the mounting nut
- Adjust the head angle so the jaws sit squarely on the nut.
- Pull the wrench down slightly to confirm it “bites” before you commit force.
- If it slips, reset; slipping usually means you’re not aligned, not that you need more strength.
3) Break it loose, then switch to controlled turns
- Use steady pressure to break the nut loose.
- Once it moves, turn in smaller increments to avoid banging into supply lines or the trap.
- If you’re tightening, stop when the faucet feels stable at the sink deck; over-tightening can crack plastic parts or deform thin metal washers.
4) If it won’t move, don’t escalate blindly
When a nut feels welded in place, the temptation is to use maximum leverage. That’s where stripped threads and snapped shanks happen. Try a penetrating oil rated for plumbing use, wait per label instructions, then attempt again with a better jaw angle. If you see plastic, skip harsh chemicals and focus on grip and alignment.
Common bathroom sink scenarios where a basin wrench helps
In real homes, “sink repair” can mean a few different things. Here’s where this tool usually earns its keep.
Loose faucet base
If the faucet wobbles, the mounting nut underneath often loosens over time. A basin wrench lets you snug it without removing the entire faucet, assuming you can reach the nut and it’s not a quick-mount system.
Replacing a faucet
Old faucets often have corroded hardware. A basin wrench for sink repair gives you a fighting chance without cutting the faucet out, though sometimes severe corrosion still calls for more aggressive removal methods.
Swapping supply lines
While supply line nuts are usually reachable with a standard wrench, certain vanity designs block access. A basin wrench can help, but use it carefully to avoid twisting the shutoff valve or stressing the copper stub-out.
Practical tips that reduce leaks and frustration
- Mark your alignment: before loosening, take a quick photo so you know what “normal” looked like.
- Support the faucet from above: if you’re loosening mounting hardware, keep the faucet from rotating and scratching the sink deck.
- Check for seepage after reassembly: run water, then feel around connections with a dry paper towel.
- Don’t overtighten supply lines: many modern lines seal with a gasket, not brute force.
Key takeaways: a basin wrench shines when access is limited, alignment matters more than strength, and “tight enough” beats “as tight as possible” for most faucet hardware.
Mistakes to avoid (these cause most DIY setbacks)
- Turning the wrong direction: working upside down flips your intuition, double-check before forcing it.
- Letting the jaw sit on the nut corner: this rounds hardware quickly, especially on softer metals.
- Using maximum leverage on plastic: plastic mounting nuts can crack, and then you’re removing pieces instead of parts.
- Skipping shutoff testing: old shutoff valves sometimes don’t close fully, keep a small bucket handy and be ready to turn off the main if needed.
- Confusing faucet leaks with drain leaks: water pooling under the sink could be supply, faucet shank, pop-up assembly, or P-trap, confirm the source before you redo work.
When it’s time to call a plumber
A basin wrench is helpful, but it’s not magic, and some situations are better handled by a licensed plumber, especially if you’re seeing signs of bigger risk.
- Shutoff valves won’t close, or the valve starts leaking after you touch it
- You see corrosion on copper, swollen supply lines, or damaged threads on the faucet shank
- The sink is pedestal or wall-mounted and access is extremely limited
- You suspect a leak inside the wall or the cabinet bottom is repeatedly wet
According to EPA, household leaks can waste significant amounts of water over time, and small drips often turn into cabinet damage if ignored. If you can’t get a stable, leak-free result quickly, getting help can be the cheaper route.
Wrap-up: the simplest way to win under-sink repairs
If your hands can’t reach the hardware cleanly, forcing a regular wrench rarely ends well. A basin wrench for sink repair gives you the access and grip you need for common bathroom faucet jobs, especially loosening or tightening mounting nuts behind the sink.
If you want one practical next step, clear out the vanity, get good light, and do a quick inspection to confirm where the leak or looseness starts. Then decide: basin wrench, socket tool, or a call to a pro. That small pause up front saves a lot of backtracking.
FAQ
What is a basin wrench used for in bathroom sink repair?
It’s mainly for reaching and turning faucet mounting nuts in tight spaces behind the sink, where standard wrenches can’t fit or can’t grip securely.
Can I replace a bathroom faucet without a basin wrench?
Sometimes, yes, especially if there’s straight access for a deep socket or the faucet uses a modern quick-mount system. In many older vanities, the clearance is tight enough that a basin wrench makes the job far easier.
Why does my basin wrench keep slipping off the nut?
Most of the time it’s jaw alignment and contact area. Reset so the jaws sit square on the nut, and reduce the angle that pulls the head sideways when you apply torque.
Is a basin wrench safe to use on plastic faucet nuts?
It can be, but go gently. Plastic hardware can crack if you over-tighten, and some plastic faucet nut tools are designed to reduce that risk.
What else should I replace while I’m under the sink?
If you’re already removing the faucet, it’s often worth checking supply lines for age and stiffness, and inspecting shutoff valves for seepage. Replace parts only when you’re confident about fit and compatibility.
How tight should the faucet mounting nut be?
Tight enough that the faucet doesn’t move at the deck and the base sits flat, without forcing the sink or countertop. If you’re cranking hard, you’re probably past the useful point.
Do I need plumber’s tape when reconnecting supply lines?
Usually not on compression fittings or gasket-sealed connectors, since they’re designed to seal without tape. If you’re unsure what type you have, the fixture instructions matter more than habit.
If you’re in the middle of a wobbly faucet or a slow drip and you’d rather not guess which tool fits your specific setup, it may help to choose a basin wrench that matches your vanity depth and faucet hardware, or ask a hardware pro or plumber to confirm what you’re working with before you force anything.