
how to use a rotary tool safely starts with controlling two things beginners usually underestimate, speed and stability, because most slips and broken bits come from rushing or gripping the tool like it’s a full-size grinder.
If you’re new to rotary tools, you can absolutely get clean cuts, smooth sanding, and neat engraving, but only if you treat it like a high-speed precision tool, not a “small power tool.” That difference changes how you set up your workspace, what safety gear matters, and how you pick accessories.
This guide walks through practical, beginner-friendly habits: setup, accessory choice, speed control, safe hand positions, and what to do when something feels off. You’ll also get a quick checklist and a reference table you can keep nearby.
What a Rotary Tool Does (and Why Safety Feels Different)
A rotary tool spins small accessories at very high RPM. That high speed makes it great for detail work, but it also means a small mistake can turn into a sudden grab, a snapped cutoff wheel, or a piece of debris heading toward your face.
Unlike many larger tools, rotary tools often get used one-handed, on small parts, and in awkward angles. Those three things raise risk. So the safety approach is less about “brute force protection,” and more about control, visibility, and secure workholding.
According to OSHA, employers should assess hazards and select appropriate PPE such as eye and face protection when there’s a risk of flying particles. At home you’re your own safety manager, so you want to build the same habit: stop, identify the hazard, then gear up.
Gear and Workspace Setup That Prevents Most Beginner Accidents
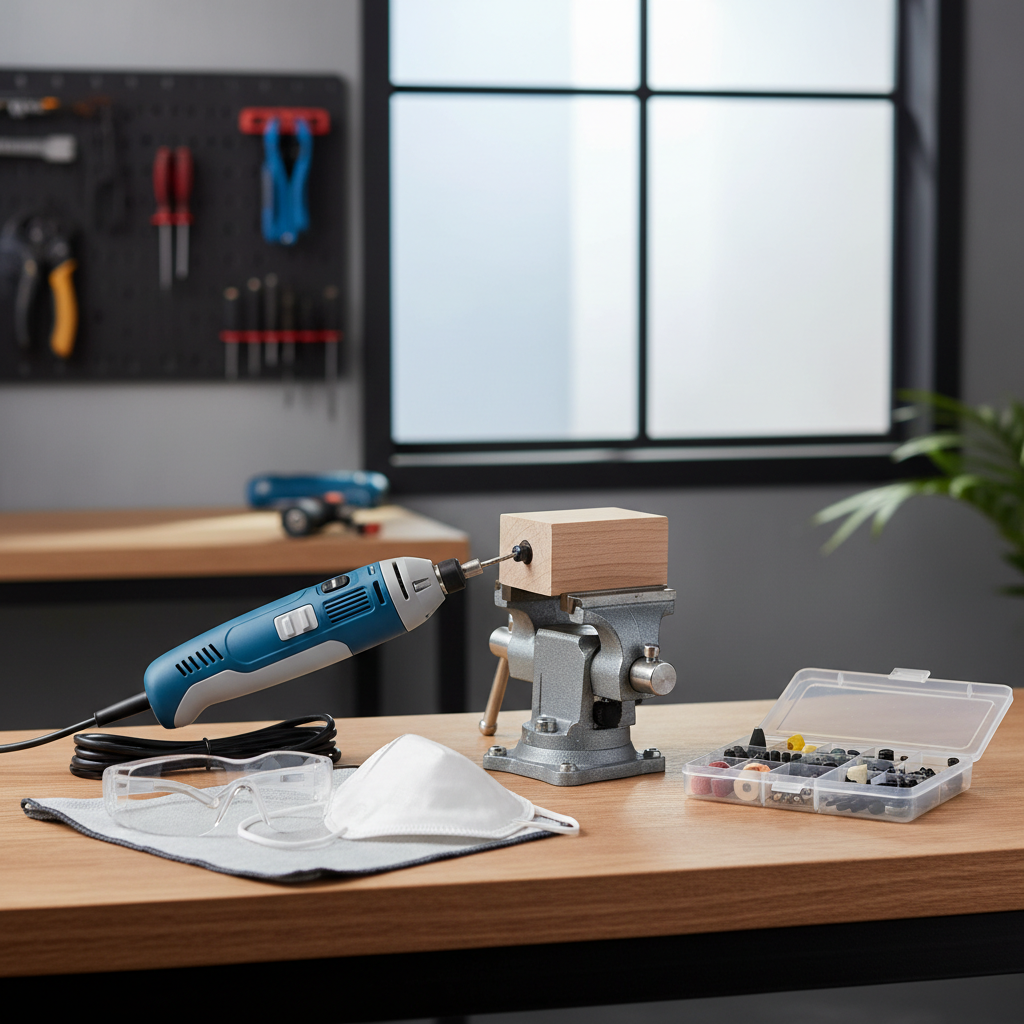
Most beginner issues show up before you even pull the trigger. A stable workpiece and the right PPE reduce the odds of a surprise moment.
Minimum PPE for most rotary tool jobs
- Eye protection: safety glasses, and a face shield for cutoff wheels or wire brushes
- Respiratory protection: at least a dust mask for sanding, better protection if you’re cutting fiberglass, plastics, or unknown materials
- Hearing protection: recommended if you run it often or at high RPM in enclosed spaces
- Hair and clothing control: tie back hair, avoid loose sleeves, remove dangling jewelry
Workspace basics that matter more than people expect
- Clamp the work: vise, clamps, or a bench pin, do not “hold it in your palm” for cutting
- Good light: shadows make you lean in close, which increases eye and face exposure
- Clear zone: move cords, scraps, and flammables away from the work area
- Stable posture: elbows supported when possible, so the tool doesn’t wander
Key point: gloves can be a mixed bag. For spinning tools, bulky gloves may catch. Many makers skip gloves and focus on clamping, but if you’re handling hot parts after cutting, heat-resistant gloves used after the tool stops can help. If you’re unsure, consider asking a tool pro or safety specialist for guidance.
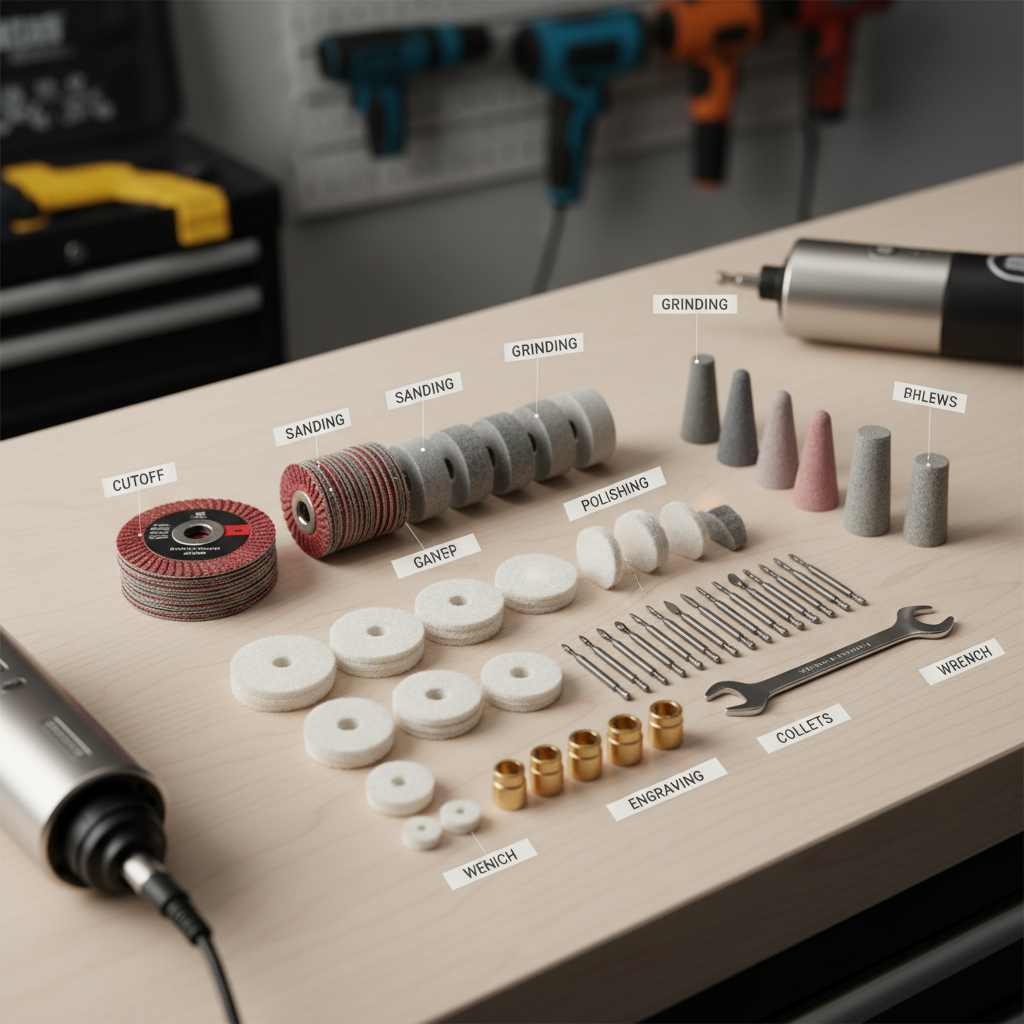
Accessory Choice: Match the Bit to the Job (Not the Other Way Around)
A lot of safety problems are really “wrong accessory” problems. Using a cutoff wheel like a side grinder, or forcing a small burr to hog out material, invites breakage and kickback.
| Task | Safer beginner-friendly accessory | What to avoid | Helpful notes |
|---|---|---|---|
| Cutting bolts, thin metal | Reinforced cutoff wheel | Twisting the wheel sideways | Let the wheel do the work; light pressure |
| Sanding wood edges | Sanding drum or flap wheel | Very high RPM on soft wood | High speed can burn wood and grab |
| Grinding / shaping | Grinding stone (correct type) | Using a stone not rated for the material | Some stones load up or shatter if misused |
| Polishing metal | Felt wheel + polishing compound | Polishing near sharp edges without control | Secure part; keep wheel moving |
| Engraving | Engraving tip / small burr | High pressure or deep single passes | Multiple light passes look cleaner |
Before installing any accessory, check that it’s rated for your tool’s speed range. Manufacturers usually print a max RPM on cutoff wheels and some attachments, and ignoring that is where failures can happen.
How to Use a Rotary Tool Safely: The Beginner Method (Step by Step)
how to use a rotary tool safely in practice comes down to a repeatable routine, so you’re not making decisions while the tool is spinning.
1) Install the accessory correctly
- Unplug the tool or remove the battery before changing bits.
- Use the correct collet size, a bit that “kind of fits” can slip.
- Insert the shank deep enough, then tighten firmly, but avoid over-torquing.
2) Set speed deliberately
- Start low, especially for sanding, polishing, plastics, and thin cutoff wheels.
- Increase speed only when the tool feels stable and the accessory runs true.
- If you see wobble, stop and reseat the bit, wobble often becomes breakage.
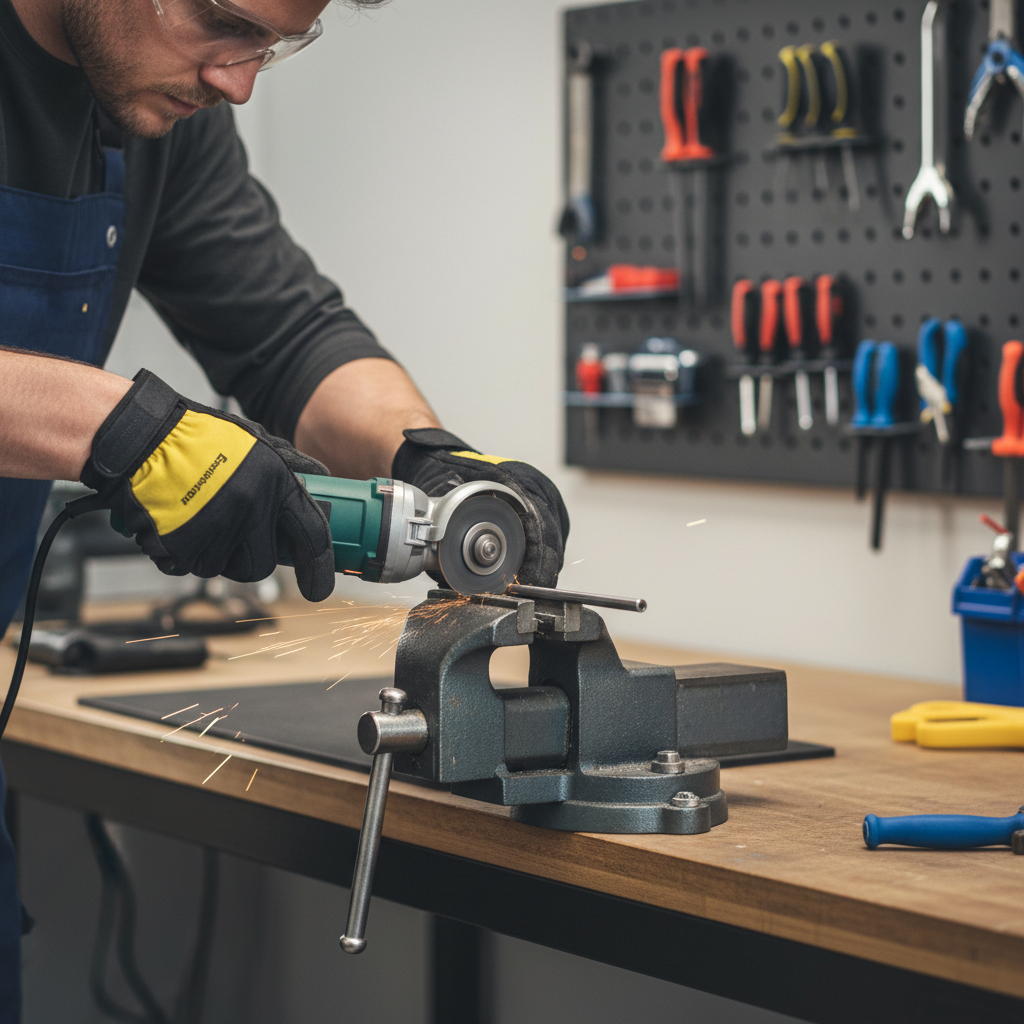
3) Use a controlled grip and stance
- Hold the tool like a thick pen when doing detail work.
- Brace your wrist or forearm when possible.
- Keep your face out of the plane of a cutoff wheel, debris tends to launch forward.
4) Let the RPM do the cutting
- Use light pressure, pushing hard increases heat and snagging.
- Make several passes instead of one deep pass.
- Pause to let accessories cool, especially on metal.
5) Stop safely
- Let the tool spin down before setting it on the bench.
- Keep the cord clear so the tool can’t roll and pull itself down.
Quick Self-Check: Are You Set Up for Safe Work?
If you’re about to start and want a fast gut-check, this list catches the common misses.
- Workpiece is clamped and your hands are not acting like a vise
- Eye protection is on, face shield ready for cutoff wheels or wire brushing
- Accessory matches the task and shows no cracks, chips, or bent shank
- Speed is set low for the first contact
- Body position is stable, you can pull away without tripping
- Cut path is planned, you know where the tool goes if it slips
- Dust plan exists, vacuum, ventilation, or at least you’re not breathing the plume
If you can’t check at least most of these, it’s usually better to spend two minutes adjusting than to “try anyway” and hope your hands stay steady.
Common Mistakes Beginners Make (and What to Do Instead)
These are the patterns that show up over and over, even with careful people.
- Mistake: cutting freehand on a small part. Do this instead: clamp the part and position your hands so the tool can’t jump into fingers.
- Mistake: using cutoff wheels for side pressure. Do this instead: keep the wheel square to the cut, or switch to a small grinding stone for sideways contact.
- Mistake: running max speed because it feels “stronger.” Do this instead: set speed for control and material, high RPM can melt plastic, burn wood, and fling wire bristles.
- Mistake: sanding without dust awareness. Do this instead: wear a mask and use extraction, some materials create irritating dust.
- Mistake: holding the tool too far back. Do this instead: choke up, like holding a pencil, your accuracy improves and so does safety.
According to CPSC, consumer product injuries often involve power tools and flying debris, which is why eye protection is not the negotiable item in this category.
Practical Mini-Projects to Build Skill Without Scaring Yourself
If you’re trying to learn how to use a rotary tool safely, start with jobs that teach control, not bravery. You want predictable materials and easy exits.
Project ideas that teach the right habits
- Deburr a cut zip-tie tail on low speed using a sanding drum, short contact, light touch
- Round over a wooden edge while the piece is clamped, work in smooth strokes
- Polish a dull screwdriver shaft with a felt wheel, keep the wheel moving to avoid heat spots
- Engrave practice lines on scrap acrylic or soft metal, focus on steady pressure and pacing
A good rule for early practice is “if the tool tries to steer you, you’re pushing too hard or using the wrong speed.” Back off, reset, try again.
When to Pause, Stop, or Get Professional Help
Some situations are not worth improvising, especially when the workpiece is valuable or the material is unknown.
- Stop immediately if you see accessory wobble, cracking, unusual vibration, or smell electrical burning.
- Consider expert input if you plan to cut or grind materials that may release hazardous dust or fumes, old paint, unknown plastics, fiberglass, or anything you suspect might contain lead or other contaminants.
- Get help if the job requires removing a lot of material quickly, a rotary tool may be the wrong tool and that mismatch creates unsafe pressure and heat.
According to NIOSH, controlling airborne dust and using appropriate respiratory protection is important in many work scenarios. If you’re unsure what your material produces when cut or sanded, it’s reasonable to consult a safety professional or follow the manufacturer’s material safety guidance.
Conclusion: Keep It Simple, Keep It Controlled
how to use a rotary tool safely is less about memorizing rules and more about a calm routine: clamp the work, pick the right accessory, start at a conservative speed, and let the tool’s RPM do the work while your hands focus on guiding.
Two actions to take today: set up a small “rotary tool station” with eye protection and clamps always within reach, then practice on scrap with light pressure until the tool feels predictable in your hands.