
how to use ear muffs for noise reduction comes down to one thing most people skip: getting a consistent seal every single time, not just “putting them on.” If noise still cuts through, or your ears hurt after 20 minutes, it’s usually a fit, hair, eyewear, or expectation problem rather than “bad earmuffs.”
This topic matters because the situations where people reach for earmuffs—yard work, workshops, shooting ranges, open offices, studying, travel—often include moving, sweating, wearing glasses, or quick on-and-off breaks. Those small details decide whether you get real attenuation or just a warm headband.
I’ll walk you through what to look for before you buy, how to wear them so they actually work, quick self-checks, and practical routines for different settings. I’ll also call out common mistakes that waste your time, plus when you should get professional advice for hearing or workplace compliance.
What earmuffs can and can’t do (set the right expectations)
Ear muffs reduce sound by creating a cushioned seal around your outer ear and adding a barrier between you and the noise source. They usually feel “instant,” which is why people like them, but they don’t create silence, and they won’t fix every type of noise equally well.
Realistic outcomes you can expect in many situations:
- High-pitched sounds (whining tools, clattering dishes) often feel reduced more noticeably.
- Low-frequency rumble (bus engines, HVAC) may still be present, just less intense.
- Intermittent peaks (hammer strikes, nail guns) are where good sealing and correct rating matter most.
Also, earmuffs don’t cancel sound the way active noise-canceling headphones do. Some hearing protectors include electronics, but standard passive muffs rely on physical isolation and fit.
According to OSHA, employers must implement a hearing conservation program when noise exposure is at or above an 8-hour time-weighted average of 85 dBA, and hearing protection is one tool in that program. If you’re using earmuffs for work, the “right” approach includes compliance and training, not just comfort.
Choose the right earmuffs: ratings, fit, and features that matter
Before learning how to use ear muffs for noise reduction in real life, it helps to start with a pair that matches your environment. Most disappointment starts at purchase: the muff is fine, but it’s wrong for your use case.
Key specs to pay attention to
- NRR (Noise Reduction Rating): a label value measured in lab conditions. Real-world reduction is typically lower due to movement, hair, glasses, and imperfect seal.
- Cup depth and opening size: shallow cups can press the ear, breaking the seal and causing pain.
- Headband tension: too loose leaks sound, too tight causes headaches and “hot spots.”
- Gel vs foam cushions: gel seals better around glasses for many people, foam can be fine but compresses over time.
- Hard hat compatibility: in workplaces, you may need cap-mounted muffs that fit your PPE system.
Quick selection table (practical, not perfect)
| Scenario | What to prioritize | Common mistake |
|---|---|---|
| Workshops, power tools | Comfort for long wear, stable seal, durable cushions | Buying the highest NRR but ignoring headband fit |
| Shooting ranges | High rating, low-profile cups (less stock interference), eyewear seal | Breaking seal with glasses temples and cheek weld |
| Studying, office | Comfort, heat management, easy on/off | Expecting silence in a loud open plan |
| Travel, commuting | Portability, clamp balance, pressure relief | Wearing them loosely to “reduce pressure,” then leaking sound |
How to put on ear muffs so they actually seal
The seal is the whole game. If you learn one thing, let it be this: a tiny gap can make a big difference, especially for higher frequencies.
Step-by-step fit routine
- Clear the contact area: move hair away from the cushion area, remove bulky earrings, and avoid hood strings or hat seams under the cushions.
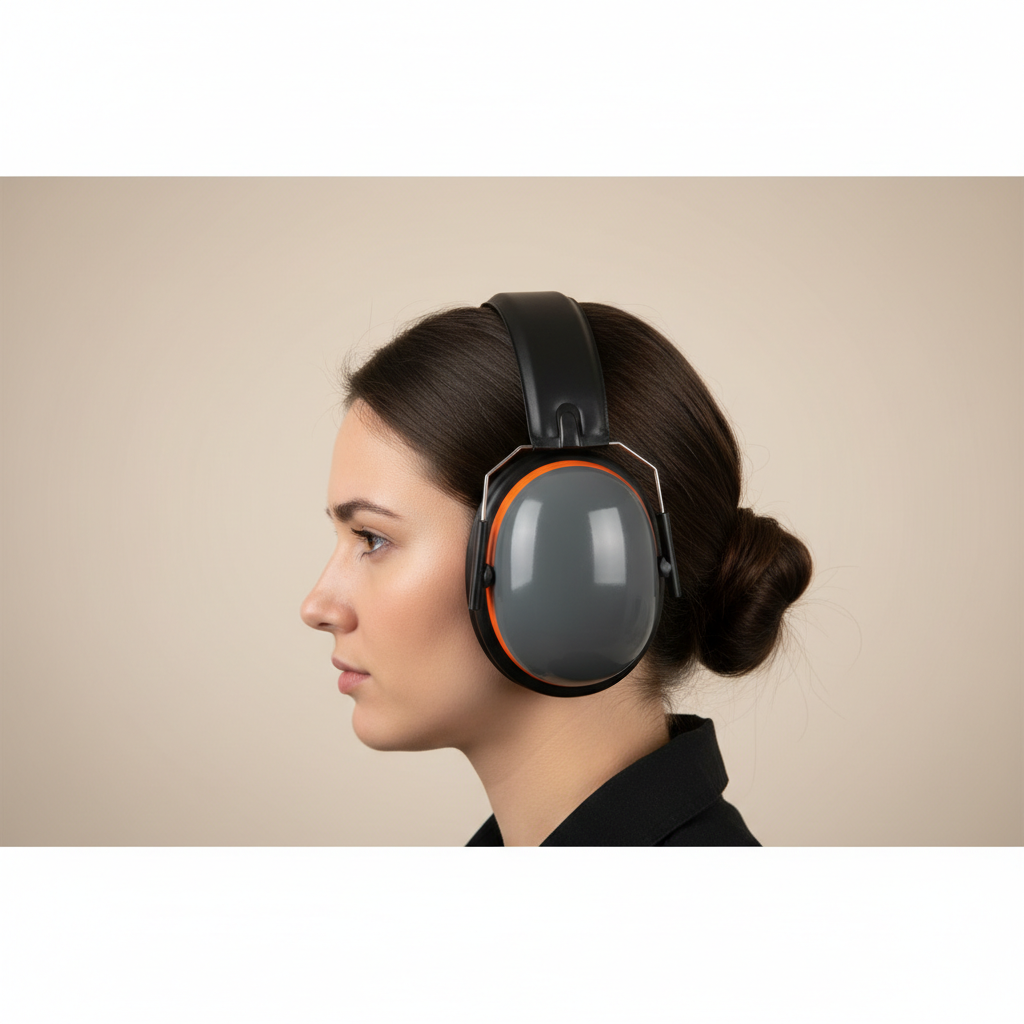
- Center each cup over the ear: your entire outer ear should sit inside the cup opening without folding.
- Set headband height: extend sliders until the cups sit evenly and level. Uneven height creates a gap you may not feel.
- Press and release: gently press both cups toward your head for one second, then let go. If the sound changes a lot during the press, your seal is not stable yet.
- Check glasses: if you wear eyewear, try to route the temples straight back rather than angled down, and use thinner frames when possible.
Micro-adjustments that often fix “these don’t work”
- Rotate the cups slightly forward or backward until you feel uniform cushion contact.
- Move the headband 0.5–1 inch forward or back on your head; some head shapes seal better off-center.
- Swap to gel cushions if you frequently wear glasses or safety eyewear.
Key point: discomfort is not just annoying, it can cause you to loosen the fit, and a loose fit usually means more leakage.
Self-check checklist: are you getting real noise reduction?
You don’t need fancy instruments to tell if your setup works, but you do need a consistent way to judge it. This is the quick “am I wasting my time?” check.
- Seal test: with the muffs on, gently push the cups inward. If the sound noticeably drops only when you push, the seal is incomplete.
- Jaw movement test: open and close your mouth, then mimic chewing. If the sound changes or the cups lift, you may need a different cup shape or headband position.
- Glasses check: slide a fingertip along the cushion where the glasses temples pass. If you feel a channel or gap, the frames may be compromising the seal.
- Hair and headwear check: thick hair under the cushion, beanies with seams, or hoodie fabric can create leaks you barely notice.
- Pressure comfort check: if you feel sharp pressure points, you’re more likely to “cheat” the fit later. Adjust before you start the task.
If you repeatedly fail these checks, it’s not a personal failing; it often means that model doesn’t match your head shape or you need cushion replacement.
Real-world routines: different ways to use earmuffs in common settings
How to use ear muffs for noise reduction changes a bit by environment because your movement, gear, and goals change. Here are routines that tend to hold up.

Yard work (mower, leaf blower, trimmer)
- Put muffs on before you start the engine so you don’t “just do this quick part” unprotected.
- Watch for sweat: cushions can slip when wet, so pause and reseat them if the seal feels unstable.
- If you’re in hot climates, plan short breaks; heat stress is real, and taking the muffs off too often invites inconsistent protection.
Workshop and DIY (saws, sanders, compressors)
- Use a consistent fit check each time you put them back on after a break.
- If you need to communicate, consider level-dependent electronic muffs or planned “quiet windows,” rather than lifting one cup, which exposes one ear.
- Store them where cushions won’t get crushed or contaminated with dust and oils.
Shooting range
- Pairing earplugs under earmuffs, often called double protection, is commonly used when impulse noise is high, or when you’re near other shooters, but comfort and correct insertion matter.
- Make sure the muff doesn’t interfere with your cheek weld or safety glasses seal; low-profile cups help some people.
- Follow range rules, and if you’re unsure about adequate protection for your caliber or lane position, ask the range safety officer.
Studying, office, sensory relief
- If speech distracts you, earmuffs can take the edge off, but they may not fully remove voices; many people pair them with a fan or neutral background sound.
- Comfort becomes the priority, because a slightly lower rating you actually wear beats a higher rating you ditch after 10 minutes.
- If you rely on alarms or announcements, keep one ear available only if safe, or use solutions designed to maintain situational awareness.
Common mistakes that reduce performance (and what to do instead)
Most “earmuffs don’t work” complaints fall into a few patterns. Fixing them is usually cheaper than replacing the product.
- Wearing them over a beanie seam or hoodie: switch to a thin cap without seams around the ear area, or wear nothing under the cushions.
- Thick glasses frames: try thinner frames for noisy tasks, or use gel cushions if compatible.
- Old cushions: cushions can harden, crack, or lose rebound. If the seal feels “plasticky” or uneven, replacement pads often restore performance.
- Headband stretched out: a loose clamp leaks. Some models allow band replacement; otherwise, it may be time for a new pair.
- Taking one cup off to talk: it’s convenient, but it defeats protection for that ear. Use short breaks away from the noise source, hand signals, or hearing protection designed for communication.
According to CDC (NIOSH), prevention is the key approach for noise-induced hearing loss because damage can be permanent. That’s a strong reason to avoid “just this once” habits.
Care, storage, and hygiene: keep the seal reliable
Earmuffs are low-maintenance, but they’re not maintenance-free. A dirty or deformed cushion stops sealing well, and you may not notice until you’re already irritated.
- Wipe cushions regularly with a damp cloth and mild soap if needed, then let them dry fully.
- Avoid heat deformation: don’t leave them on a car dashboard or near heaters, cushions can warp.
- Store with the cups relaxed: crushing them in a tight toolbox can dent the foam rings and create leaks.
- Replace cushions when they crack, stiffen, or no longer rebound quickly.
If you share earmuffs at work, hygiene policies matter; many workplaces issue personal sets or require replaceable covers.
When to get professional guidance (safety, hearing health, compliance)
If you’re using earmuffs for a job site, your employer’s safety manager or an occupational health professional can help confirm that your hearing protection matches the measured noise levels and the required training.
- If you notice ringing in your ears, muffled hearing after noise exposure, or worsening sensitivity, consider talking with an audiologist or healthcare professional. These symptoms can have multiple causes.
- If you work around high noise, ask about fit testing, hearing tests, and whether double protection is appropriate for your station.
- If you need to hear alarms, radios, or co-workers for safety, get guidance on solutions that balance attenuation and awareness.
Conclusion: the fastest way to get better results
Most people don’t need a “magic” model, they need a repeatable routine: clear the cushion area, center the cups, set headband height, then do a quick seal check before the noise starts. Once you treat fit like part of the task, the improvement feels obvious.
If you want an easy next step, pick one environment you deal with often, then adjust your setup for that context, glasses and headwear included. After a week of consistent use, you’ll know whether you need different cushions, a different shape, or a different strategy altogether.