
laser measure distance meter accuracy problems usually show up at the worst time, right when you need a quick number for a cut list, a quote, or a room layout.
The good news is most “bad readings” come from a few predictable causes: target surface issues, user setup, or choosing the wrong measurement mode. Once you know what to check, a laser tool becomes one of the fastest ways to measure without dragging a tape across a room.
If you’re shopping for one, or trying to get consistent results from the tool you already have, this guide breaks down what matters in real use: range, precision, display, calibration habits, and a couple small “pro” moves that save time.
Why laser distance meters go wrong in real projects
Most issues aren’t “defective unit” problems, they’re environment and workflow problems. A few common ones show up across job sites and DIY projects.
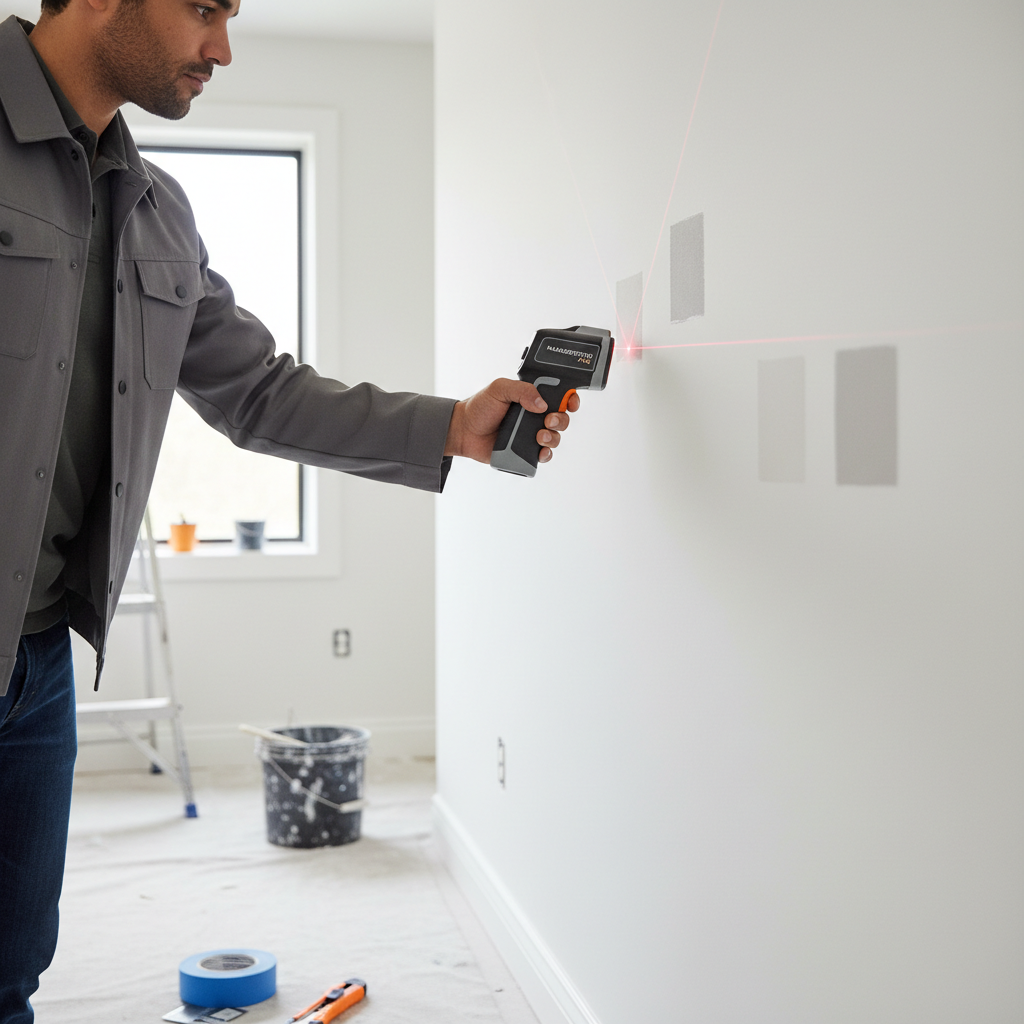
- Shiny or dark targets: glossy tile, mirrors, black paint, and some glass surfaces can scatter the beam or reduce return signal.
- Long-distance aiming drift: at 40–100+ feet, a tiny wrist movement shifts the dot enough to change the reading.
- Wrong reference point: some tools measure from the front edge by default, others from the back, and many let you switch. One wrong setting can throw off every dimension.
- Angle instead of straight line: if the tool isn’t squared to the surface, you may measure a diagonal, not the true span you wanted.
- Low battery or cold conditions: many devices behave less predictably when power drops or temperature swings.
According to NIST (National Institute of Standards and Technology), measurement reliability depends on both instrument performance and proper use, which is a polite way of saying technique matters almost as much as specs.
Quick self-check: is it the tool, the surface, or the method?
Before you return anything, run a short checklist. This usually tells you where the problem lives.
- Repeat test: measure the same span 5 times. If numbers jump around, suspect aiming/surface/battery.
- Short known distance: test 5–10 feet against a tape. If short readings are solid but long ones drift, it’s likely stability and targeting.
- Reference setting: confirm “front/back” reference matches how you’re physically bracing the device.
- Mode check: make sure you’re not in indirect/Pythagorean mode when you want a straight line.
- Target test: try painter’s tape or a matte paper target on the wall. If results improve, the surface is the culprit.
Key point: if readings are consistent but “wrong,” it’s often a reference or mode issue. If readings are inconsistent, it’s usually aiming, surface reflectivity, or power.
Features that actually matter when choosing a laser measure distance meter
Spec sheets can feel like alphabet soup. Here are the features that tend to change day-to-day usability in the U.S. market, whether you’re measuring rooms, framing, or estimating materials.
- Realistic working range: manufacturers list max range, but indoor “useful range” can be shorter on dark paint or textured walls. If you often measure across large spaces, look for better optics and a clear dot.
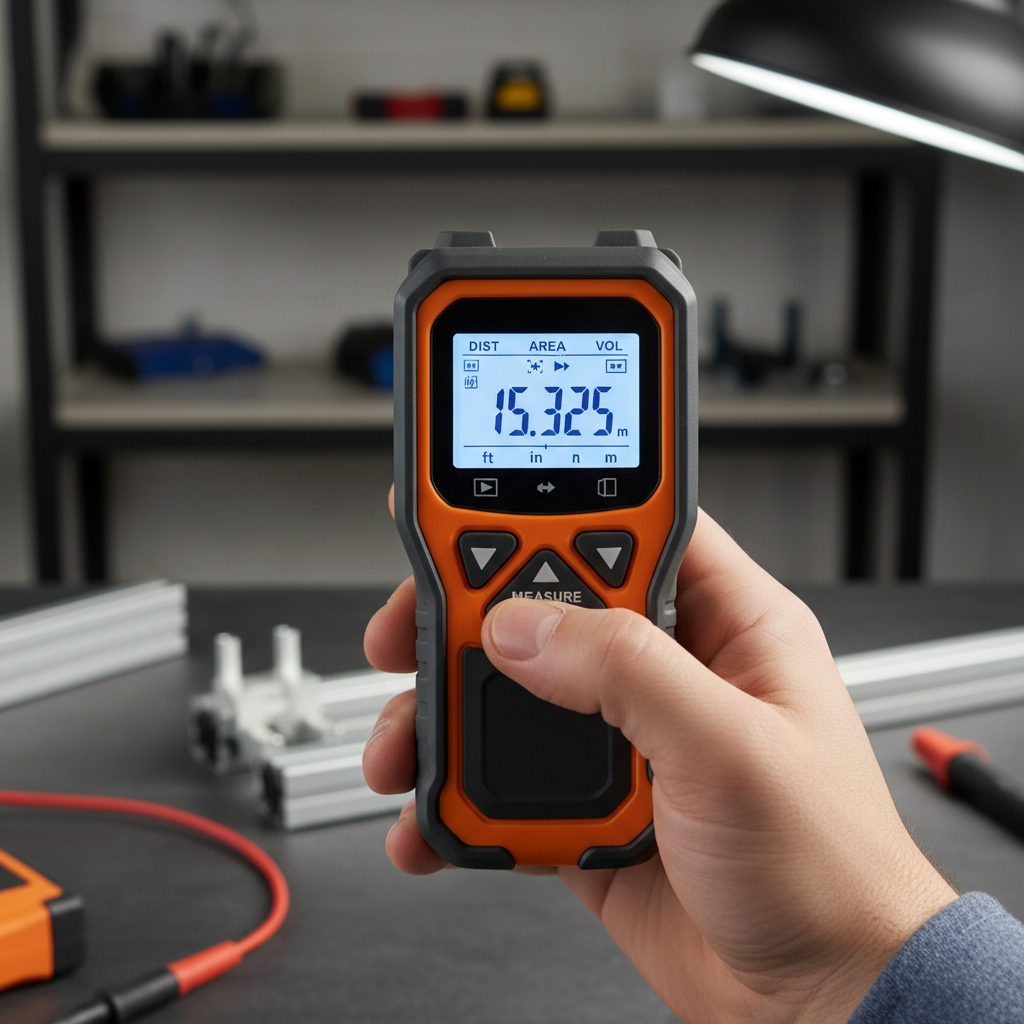
- Units and fractional inches: for many U.S. trades, feet-and-inches (and sometimes fractions) saves mental conversion.
- Brightness and readability: a bright backlit screen beats fancy memory storage when you’re working in low light.
- Min/Max tracking: helps find a true straight span when you’re sweeping to locate the longest distance.
- Area/volume: handy for quick flooring and paint estimates, as long as you trust your corners and reference point.
- Bluetooth/app export: useful for documenting site measures, but only if your workflow actually needs it.
- IP rating and durability: if it rides in a tool bag, splash and dust protection matter more than one extra decimal place.
How to use it accurately: a practical workflow
If you want fewer re-measures, treat the laser like a “tiny instrument,” not a point-and-hope gadget.
1) Start with a stable stance
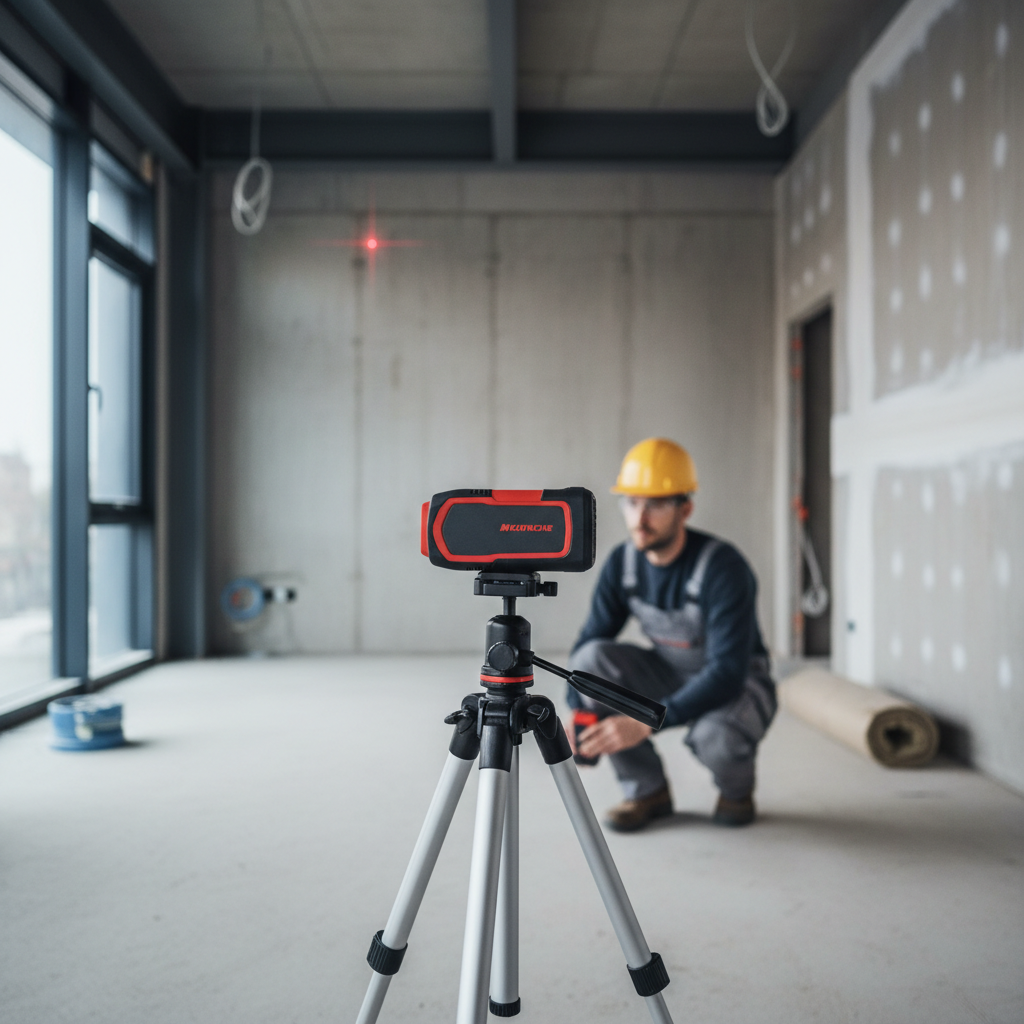
Press the back of the device flat to a surface when possible, or brace your hands on a door jamb or stud edge. For longer shots, even a small tripod or a monopod can make a big difference.
2) Use a target when the wall fights you
On shiny tile or dark paint, stick a piece of matte painter’s tape or a paper card where the dot lands. This gives the beam a friendlier surface to reflect.
3) Confirm reference and units before “real” measurements
Many mistakes come from measuring from the wrong end of the tool or flipping between feet/inches and metric. Lock this in before you start logging numbers.
4) For critical cuts, verify with a second method
Cabinet fits, door rough openings, and anything that can’t be “fudged” later usually deserves a quick tape check. The laser is fast, but redundancy is cheaper than rework.
Comparison table: common use cases and what to prioritize
Different jobs reward different features. Here’s a simple way to match the tool to the work.
| Use case | What typically matters most | Nice-to-have |
|---|---|---|
| Room measuring (flooring/paint) | Fast area mode, clear display, easy unit switching | Bluetooth export for estimates |
| Trim/cabinet planning | Consistent short-range accuracy, back reference option | Memory slots for multiple spans |
| Outdoor layout | Higher usable range, strong laser visibility, stability support | Tripod mount, digital viewfinder |
| Real estate / inspection notes | One-hand operation, quick capture, durable casing | App with labeled room exports |
Common mistakes that waste time (and how to avoid them)
- Measuring to baseboards when you need stud-to-stud: decide the reference surfaces first, then stay consistent.
- Trusting one long shot across clutter: furniture edges and glass can intercept the beam. Clear the line or elevate the aim.
- Ignoring corner geometry: if walls aren’t square, area calculations can mislead. In older homes, they often aren’t square.
- Assuming decimals equal “more accurate”: extra digits don’t help if your technique introduces larger error.
According to OSHA, maintaining a safe work environment includes controlling trip hazards and working at heights safely. If you’re tempted to balance on something sketchy just to get a measurement, it’s usually better to reposition, use an extension, or ask for help.
When to get a pro involved (or upgrade your setup)
If you’re consistently measuring for structural work, critical installations, or anything tied to permits, consider validating your process with a qualified contractor, surveyor, or another appropriate professional. A handheld laser tool can be very good, but it’s not a substitute for job-specific measurement standards.
It may also be time to upgrade if you regularly need long-range measurements in bright light, you rely on indirect measurement modes, or you must document dimensions for clients. In those cases, better optics, a tripod mount, or an integrated digital viewfinder can reduce uncertainty.
Conclusion: a faster measuring habit beats chasing perfect specs
A laser measure distance meter earns its keep when you use it consistently: confirm reference, aim square, stabilize your hands, and don’t be shy about using a simple target on tricky surfaces. If you do one thing this week, run a quick tape-vs-laser check on a few known spans and save that workflow as your baseline.
If you’re buying, pick the features that match your real jobs, not the longest-range number on the box. That’s how the tool stays helpful instead of becoming “the gadget in the drawer.”
FAQ
What is the typical accuracy of a handheld laser distance meter?
It varies by model and conditions. Many units claim tight tolerances, but surface reflectivity, angle, and stability can add real-world error, especially at longer distances.
Why does my laser meter give different readings for the same wall?
Inconsistent readings usually come from hand movement, a hard-to-read surface (glossy or very dark), or low battery. Adding a matte target and bracing the tool often helps.
Can I use a laser measure distance meter outside in sunlight?
You can, but visibility and range often drop in bright sun. For frequent outdoor use, look for better visibility features and consider a tripod for stability.
What does “front/back reference” mean on these tools?
It tells the device which physical point to measure from: the front edge (laser side) or the back of the housing. If this setting doesn’t match how you’re holding it, every number can be offset.
Are area and volume modes reliable for estimating materials?
They’re convenient for quick estimates, but they assume you measure the right spans and that the room geometry behaves. In older homes with out-of-square corners, double-check critical calculations.
Do I still need a tape measure if I have a laser meter?
For many tasks, the laser replaces most tape pulls. For tight tolerances, scribing, and situations with obstructions, a tape (or story pole) remains a good backup.
What’s the easiest way to improve accuracy without buying a new tool?
Stabilize the device, confirm the reference setting, use a matte target on tricky surfaces, and take two readings from slightly different positions to confirm consistency.
If you’re trying to choose a laser distance meter for a specific job, or you keep getting “almost right” measurements that slow your project down, it may help to share your typical measuring distances, indoor vs. outdoor use, and whether you need feet-and-inches output so the feature set matches your workflow.