
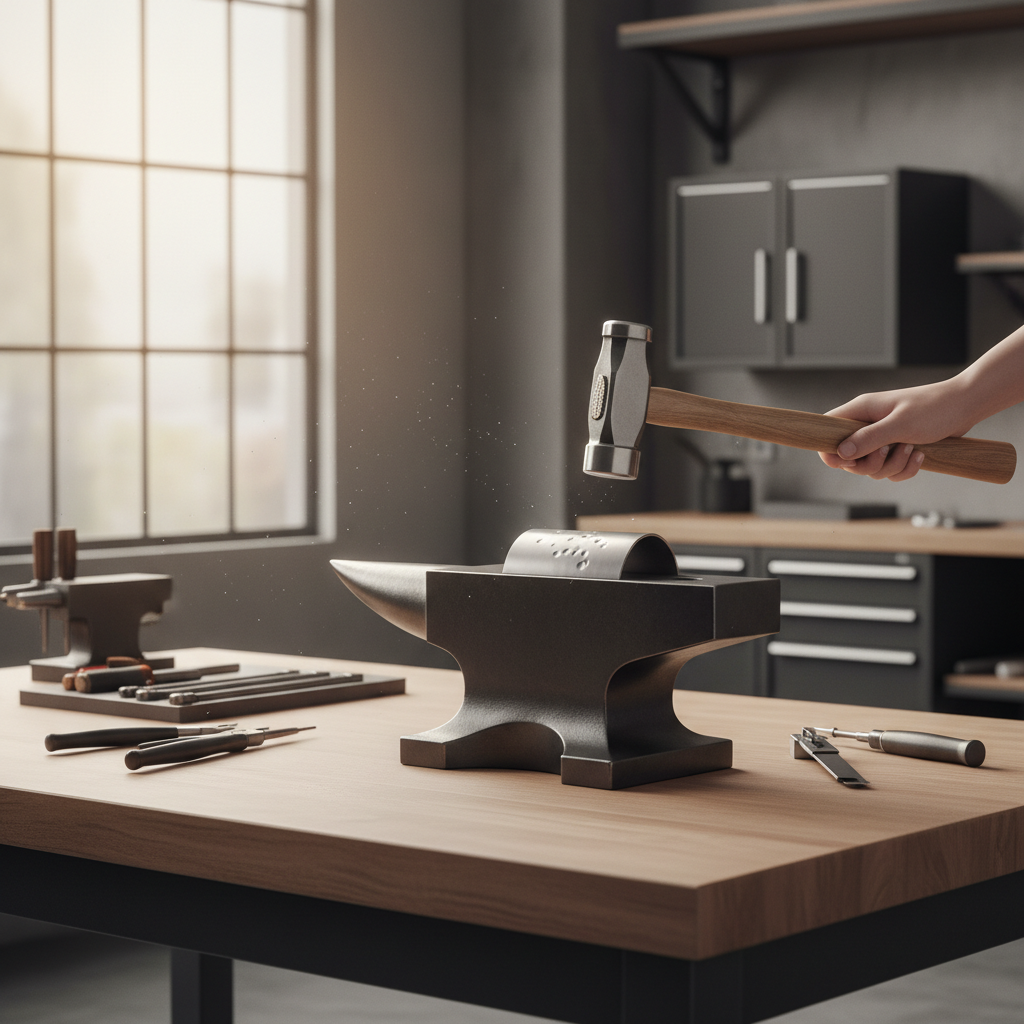
Ball peen hammer metal work is one of the simplest ways to shape, dome, and refine metal when your bends look lumpy, your edges mushroom, or your curves refuse to match side-to-side.
If you’ve ever tried to “just tap it into shape” and ended up with a field of tiny craters, you already know the problem, hammers are easy to swing and surprisingly hard to control. The ball end can move metal beautifully, but it will also leave a story on the surface if your setup or technique is off.
This guide stays practical, what the ball peen is actually doing to metal, how to choose the right weight and face, quick tests to diagnose your marks, and a few repeatable workflows for shaping and smoothing without chasing your tail.
What a Ball Peen Hammer Really Does in Metal Shaping
The ball end doesn’t “bend” metal so much as it stretches and displaces it, one controlled impact at a time. That difference matters because stretching changes curvature and can raise a dome, while edge blows can thicken, flare, or mushroom material.
In most shops, a ball peen becomes a shaping tool in three common ways:
- Dishing: using the ball face into a depression (like a swage block or sandbag) to create a bowl or dome.
- Planishing: lighter, tighter blows to smooth and even the surface after rough shaping.
- Peening/riveting work: forming rivet heads or setting fasteners without tearing the shank.
According to OSHA, hand tool safety starts with selecting the right tool and keeping striking surfaces in good condition, since damaged faces can chip and create hazards. That’s not “paperwork safety,” it directly affects your finish and your fingers.
Why Your Metal Gets Dented, Wavy, or Work-Hardened
Most ugly shaping marks come from a few real-world mismatches, tool to task, support to material, or force to thickness. Here are the usual culprits.
1) The backer is too soft (or missing)
If the metal can bounce, it will. Unsupported sheet absorbs your blow by flexing, so you hit harder, then you get deeper dimples. A solid stake, anvil, or properly shaped dolly changes everything.
2) Your hammer face is too rough
Many ball peens ship with a finish that’s “fine for nails,” not fine for visible metal. Any texture transfers. If you plan to do cosmetic planishing, a polished face is non-negotiable.
3) Hitting too hard too early
For shaping, heavier blows usually belong early, but only after you’ve set the work on the right form. If you freehand a curve with force, you create localized stretch, then you spend an hour trying to blend it out.
4) Work-hardening sneaks up
Aluminum, some stainless, and many thin alloys can stiffen as you hammer. That can be useful, but it also makes cracking more likely if you keep forcing the same area. Depending on the alloy, you may need to pause, change method, or consult a materials pro about annealing.
Quick Self-Check: Are You Using the Right Setup?
Before you buy another hammer or blame your hands, run this short checklist. It’s fast, and it usually points to the true fix.
- Surface marks look like tiny half-moons: face finish is rough or you’re glancing blows.
- One area domes too fast: you’re concentrating hits, not overlapping in a consistent pattern.
- Metal “oil cans” (pops in/out): too much stretch without a plan to shrink or support.
- Edges mushroom: striking too close to the edge or using the wrong backer.
- Arm fatigue after 5 minutes: hammer weight or handle fit is off, you compensate by gripping too hard.
If two or more apply, don’t push through. In ball peen hammer metal work, “more effort” often just locks in more cleanup later.
Choosing the Right Ball Peen Hammer for Shaping (and When Not to)
There isn’t one perfect hammer, but there is a sensible range that covers most shaping and planishing.
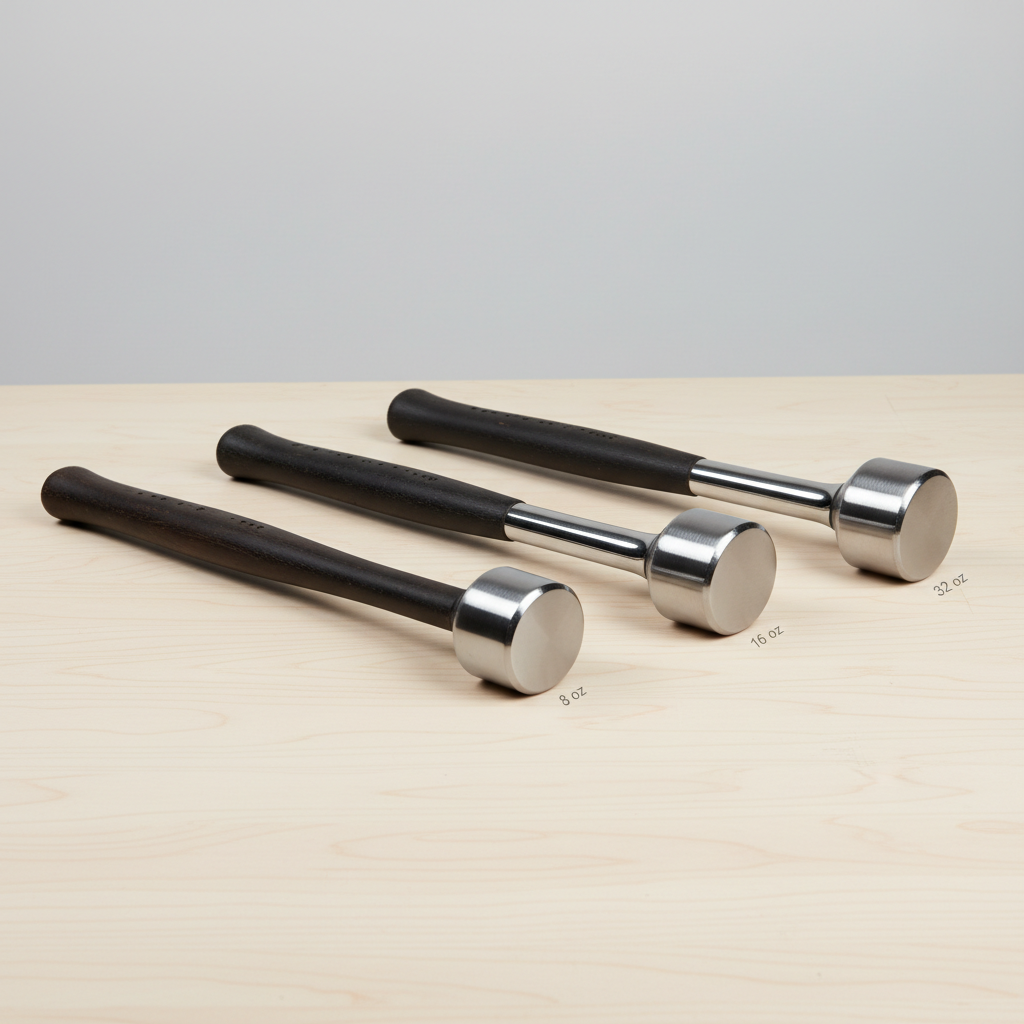
Recommended size ranges (typical shop use)
- 8–12 oz: light planishing, small brackets, thin sheet where you want control over power.
- 16 oz: general shaping, a common “first real hammer” weight.
- 24–32 oz: thicker stock or faster dishing, but technique matters more because mistakes show up fast.
Handle choice affects accuracy. Wood can feel forgiving, fiberglass often feels crisp, steel transmits more shock. If you deal with elbow or wrist sensitivity, it may be worth trying a vibration-damping grip, or switching methods before pain becomes a recurring issue.
Also, sometimes the ball peen is simply not the best tool. For very clean cosmetic surfaces, a dedicated planishing hammer, body hammer, or a polished peen plus a well-matched dolly usually reduces finish work.
Technique That Actually Works: Two Reliable Workflows
You can get a lot done with a ball peen if you treat shaping like a process, not a single dramatic moment. Here are two workflows most people can repeat.
Workflow A: Dishing a simple curve (bowl or dome)
- Pick the form: sandbag, swage block depression, or a wooden stump hollow, something that supports the direction you want to move metal.
- Mark your target zone: even a Sharpie circle helps keep blows distributed.
- Start with controlled, overlapping strikes: think “tap-tap-tap” across the area, not “hit the center harder.”
- Flip and check often: over-stretch is easier to prevent than to undo.
- Refine on a stake/dolly: when the general shape appears, move to firmer support and lighter hits.
A small habit that helps, keep the hammer head moving like you’re painting coverage, overlapping passes, consistent spacing, no panic hits.
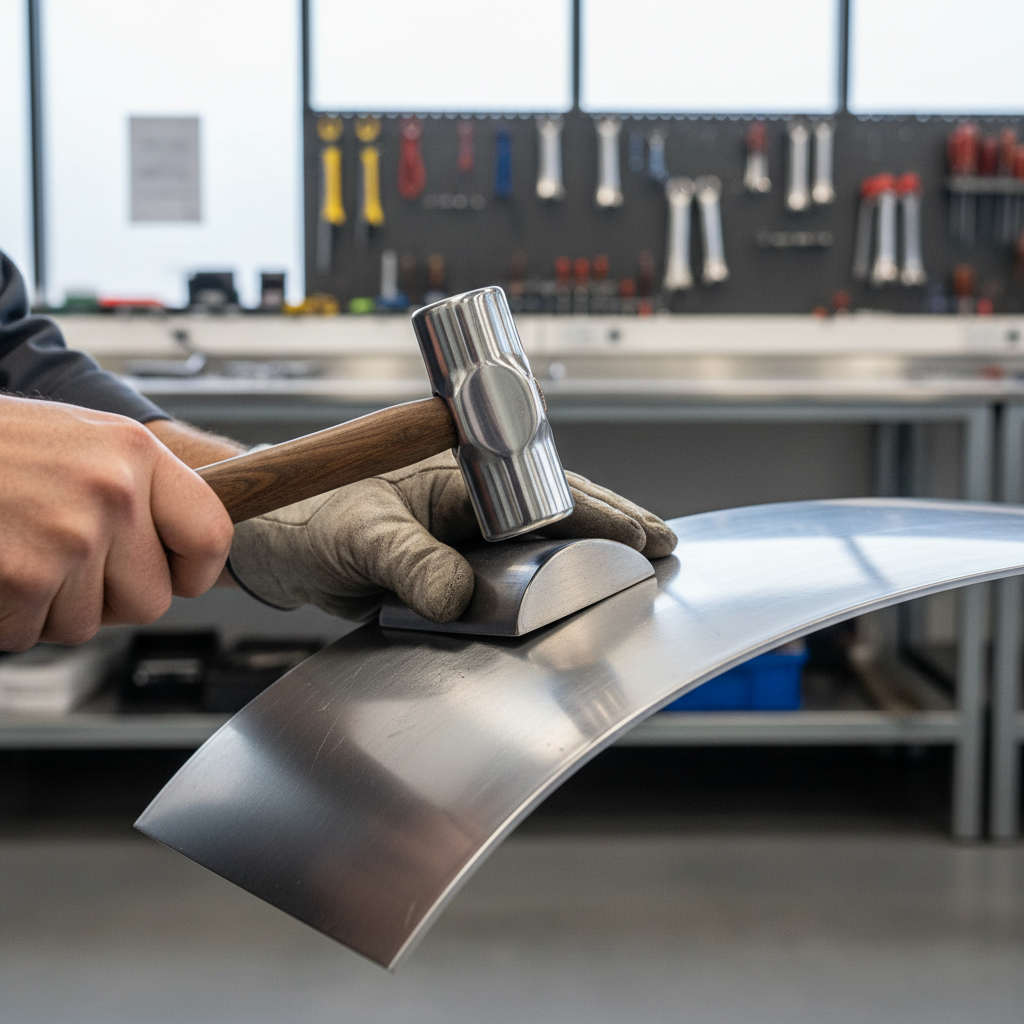
Workflow B: Planishing to reduce hammer marks
- Polish the hammer face: if you see scratches on the face, you will see them on the metal.
- Use solid backing: a dolly that matches the curve prevents “print-through” dimples.
- Lighten up: you’re smoothing peaks and blending, not creating new stretch.
- Listen: clean contact often sounds brighter and more consistent, dead thuds usually mean poor support or off-angle strikes.
According to NIOSH, reducing exposure to vibration and repetitive force can lower the risk of hand and arm issues in many work settings. In practice, that means choosing a hammer you can control without death-gripping, and taking breaks when fatigue changes your accuracy.
Shaping Results vs. Finish: A Practical Tool/Setup Table
If you’re unsure what to pair with your ball peen, this table gives a realistic starting point.
| Goal | Support | Hammer choice | What to watch for |
|---|---|---|---|
| Create a dome (rough shape) | Sandbag or swage depression | 16–32 oz ball peen | Over-stretching the center, uneven strike pattern |
| Refine a curve | Stake or dolly matching radius | 12–16 oz, smoother face | Chasing low spots by hitting harder |
| Planish for smoother surface | Very solid anvil/dolly contact | 8–12 oz, polished face | Face scratches printing into the work |
| Set rivets / form heads | Backing bar or anvil | 12–16 oz ball peen | Slipping and marking the surrounding area |
Safety, Common Mistakes, and When to Get Expert Help
Metal shaping is “simple” until it isn’t, especially when flying chips, sharp edges, and fatigue enter the picture. A few boundaries keep you productive.
Common mistakes that waste time
- Using a chewed-up hammer face: you can sand out marks later, but why create them.
- Trying to fix a low spot by pounding it: low spots often need support changes, sometimes shrinking methods, not more stretch.
- Ignoring edge support: unsupported edges warp fast, then fit-up becomes a fight.
- Skipping layout checks: templates, calipers, or simple symmetry marks prevent “close enough” drift.
Basic safety that matters for shaping quality
- Eye protection: recommended, since chipped faces or stray fragments can happen.
- Secure the work: slipping parts cause glancing blows and accidental impacts.
- Mind repetitive strain: if you feel tingling or persistent pain, consider stopping and consulting a medical professional.
When to seek professional guidance
If your part is structural, load-bearing, or tied to safety critical systems (vehicle suspension components, lifting hardware, pressure-related parts), it’s smart to consult a qualified fabricator or engineer before “hammer shaping” becomes the method. The same goes for alloy-specific questions, heat treatment, or crack risk, those calls depend on material grade and application.
Key Takeaways and Next Steps
Ball peen hammer metal work rewards patience more than strength, solid backing beats hard swings, and a polished face saves hours of sanding. If your results look rough, it’s usually a setup issue you can fix in one session.
Your next step: pick one small practice piece, set up proper support, then run Workflow A or B with lighter, more consistent overlaps than you think you need. Ten minutes of controlled passes teaches more than an hour of aggressive correcting.
FAQ
What is a ball peen hammer used for in metal work?
It’s commonly used to shape and stretch metal, smooth surfaces during planishing, and form rivet heads. The ball end concentrates force into a small area, which is why it moves material efficiently, but it also marks surfaces if the face or technique is rough.
What hammer weight is good for shaping sheet metal?
Many people land around 12–16 oz for general shaping because it balances control and momentum. Thicker stock may justify 24–32 oz, but only if your backing and strike pattern stay consistent.
How do I stop the ball peen from leaving dimples?
Polish the striking face, reduce force, and improve backing so the panel can’t bounce. In practice, matching the dolly radius to the curve you want often reduces dimples more than changing hammers.
Can I use a ball peen hammer for planishing?
Yes, especially on small parts, but you’ll want a very smooth face and light strikes. If you need a near-finish surface, a dedicated planishing hammer or a body hammer may be easier to control.
Does hammering metal make it stronger?
It can, depending on the metal. Many alloys work-harden when deformed, which may increase hardness but can also reduce ductility and raise crack risk. If you’re unsure about the alloy or the part’s role, asking a materials or fabrication professional is a safer move.
What’s the difference between dishing and planishing?
Dishing focuses on creating shape by stretching into a depression, while planishing focuses on smoothing and evening out after you have the rough form. They look similar from a distance, but the support and strike force usually differ a lot.
Do I need an anvil to do ball peen hammer metal work?
Not always. A solid vise-mounted stake, a heavy steel block, or a good dolly can work well for small projects. The key is mass and stability, if the support “gives,” your finish suffers.
Is it safe to grind or polish a hammer face?
It’s commonly done, but do it carefully and avoid overheating the steel, which can affect hardness. If you’re not confident, a toolmaker or experienced fabricator can help, and replacing a cheap hammer is sometimes the simplest route.
If you’re shaping parts regularly and want more consistent results, it may help to build a small kit around your ball peen, a polished lighter hammer for planishing, one or two dollies that match your common radii, and a stable work surface so your technique can finally show up in the metal.