
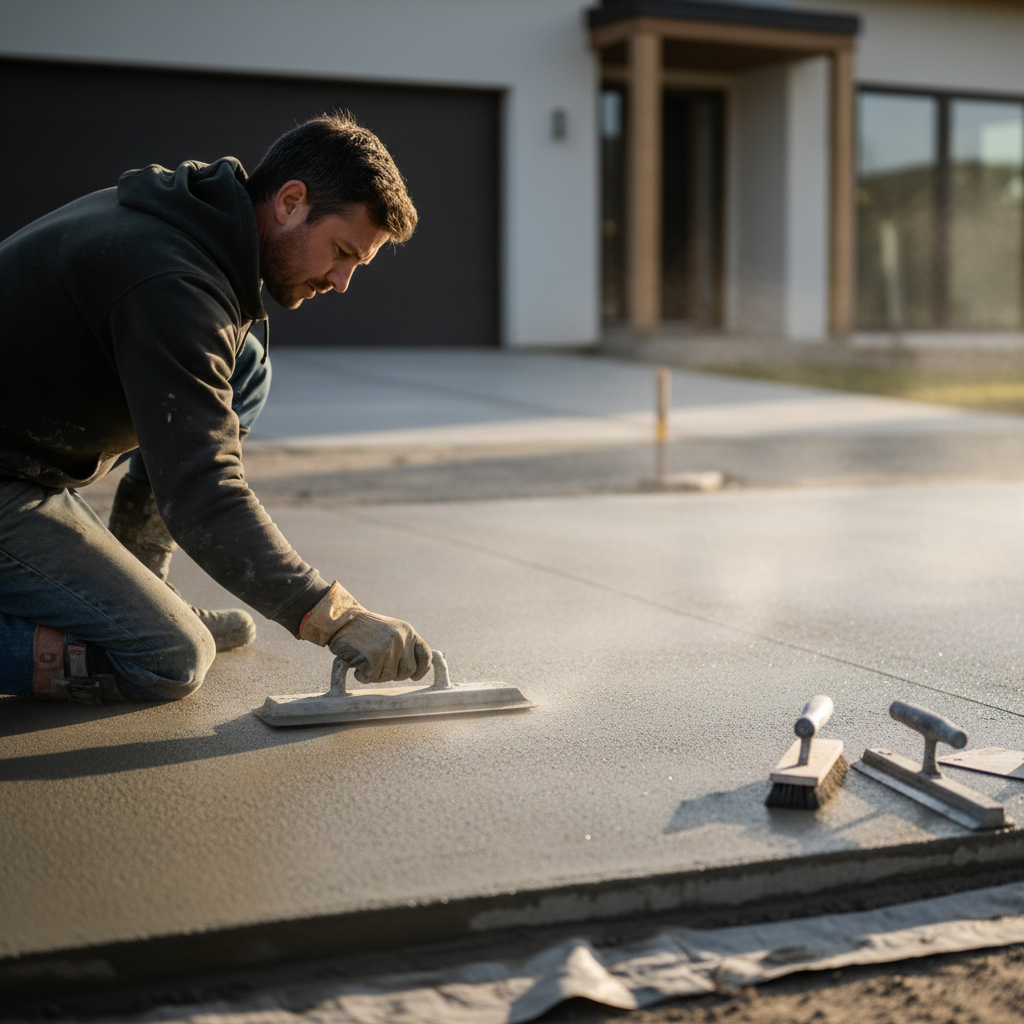
Concrete float tool finishing usually goes wrong for one simple reason, timing, you float too early and pull paste, or too late and you just burnish bumps instead of flattening them. If your slab looks wavy, gritty, or keeps “opening up” with little tears, the float is not the problem by itself, the sequence is.
This matters because floating is the bridge between placement and final texture, done well, it closes voids, levels minor ridges, and sets you up for broom, trowel, or edge work without fighting the surface. Done poorly, you can trap water, weaken the top, or create a finish that looks fine today and scales tomorrow.
One more thing people miss, “smoothing” with a float is not the same as “shining” with a steel trowel. A float’s job is to flatten and compact the surface zone without overworking it, the sheen can come later depending on your spec.
What a concrete float actually does (and what it should not do)
A float works the top few millimeters of concrete, it knocks down high spots, fills low pinholes, and compacts the surface paste so later steps go faster and cleaner. Think of it as controlled pressure plus slight lateral movement.
- It should: level small ridges, close minor voids, embed coarse aggregate slightly, and leave a uniform “matte” look.
- It should not: drag excess water to the top, dig channels, or be used like sandpaper to “fix” a mix that is already too wet.
According to American Concrete Institute (ACI), finishing operations should be timed to the concrete’s condition, especially avoiding practices that increase surface water or weaken the surface layer. In plain terms, watch the slab, not the clock.
Why your slab isn’t smoothing out: the most common causes
When concrete float tool finishing looks rough, it’s usually one of these real-world issues, not a mysterious technique problem.
- Floating too early: the slab still bleeds, your float rides on water, paste gets soupy, and the surface later dusts or scales.
- Floating too late: the slab has tightened, your float chatters, leaves ripples, and you can’t close small voids anymore.
- Wrong float material for the stage: wood can be too aggressive late, steel can be too tight early, magnesium often hits the “middle” well.
- Overworking a wet mix: adding water onsite or working water back in makes it seem workable, then it pays you back with weak surface.
- Aggregate grading fighting you: some mixes expose rock quickly, so you need a gentler pass and better screed control up front.
- Weather moving faster than your crew: wind and sun can crust the top while the body stays plastic, creating tears.
Quick self-check: are you ready to float yet?
Before you touch the slab again, run this quick check. It saves more time than any “special” float pattern.
- Bleed water: if there is visible water sheen or puddling, wait. If it looks damp but not wet, you may be close.
- Finger test: press a gloved fingertip, you want an imprint around 1/8–1/4 inch, not a sloppy crater, not nothing.
- Footprint test (for larger pours): a boot print around 1/4 inch often indicates a good window for bull floating or first hand float, depending on mix.
- Sound and feel: the float should glide with mild resistance, if it “skates,” too wet, if it bounces, too tight.
If you’re indoors or on a cool day, your window might be longer. In hot, windy conditions, it can shrink to minutes, that’s why planning matters.
Choosing the right float tool: wood vs magnesium vs resin vs steel
There’s no single best float, but there is a best match for your mix, your timing, and your final texture. Here’s a practical comparison you can use on the job.
| Float type | Best use stage | What it’s good at | Watch-outs |
|---|---|---|---|
| Wood | Early to mid | Brings paste up, opens surface for broom, good for exterior traction finishes | Can leave grain marks, can be too aggressive if slab tightens |
| Magnesium | Mid | Flattens well, compacts without sealing too tight, common for general flatwork | Can “raise” paste if you push too hard, edges can gouge if nicked |
| Resin/Composite | Mid to later | Leaves smooth, consistent surface, less drag, good for tighter mixes | Feels slippery for beginners, can tempt over-finishing |
| Steel (hand float) | Later (after initial floating) | Tightens and smooths, helps close small imperfections before trowel/broom decision | Too early can seal surface and trap bleed water, risk of blistering |
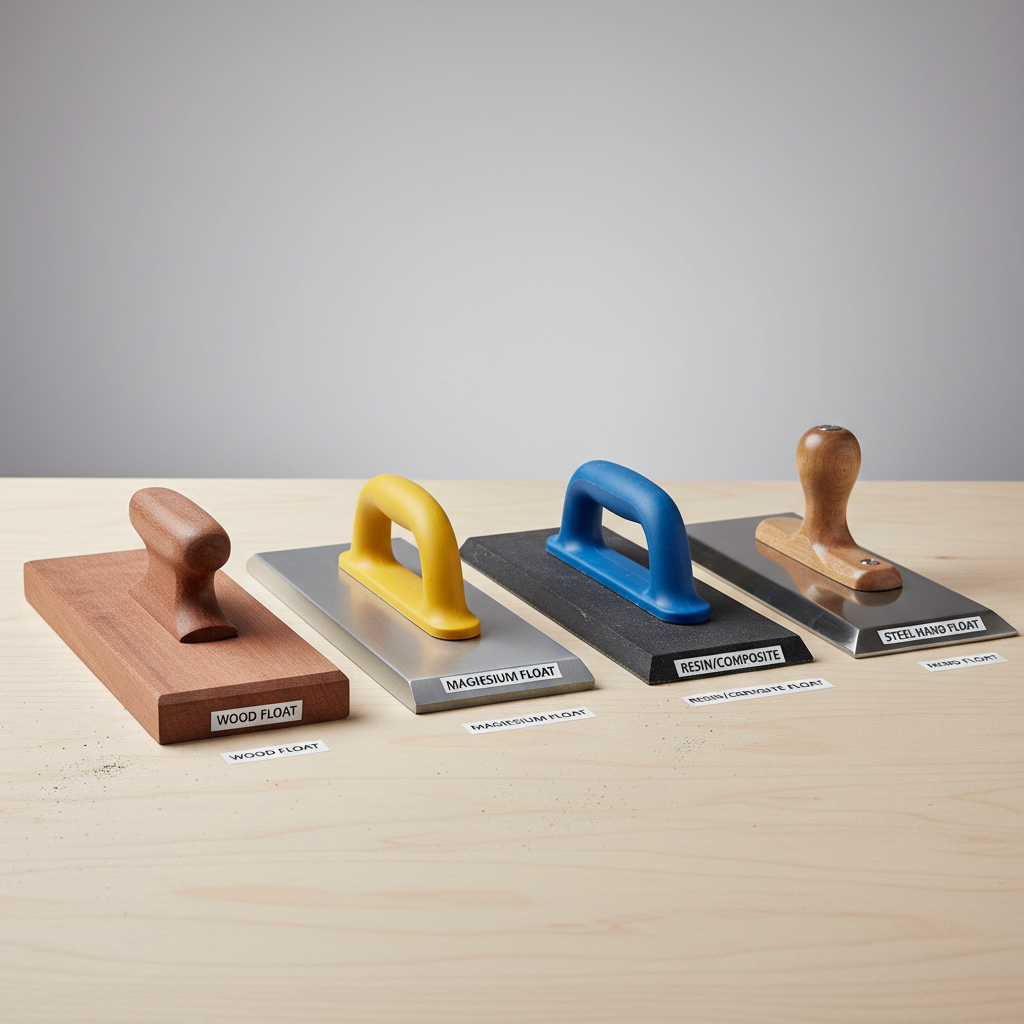
If your goal is a broom finish driveway or sidewalk, many crews prefer wood or magnesium to keep the surface receptive. If your goal is a tighter interior slab, magnesium followed by steel later often feels more controllable.
Step-by-step: a reliable floating sequence for smoother concrete
This is the workflow that holds up across a lot of slab types. Adjust for your mix and weather, but keep the logic intact.
1) Screed well, because the float is not a leveler
Most “my float leaves waves” complaints come from screed control, not the float. Get your grade right, strike off clean, and cut down ridges early. The float should refine, not rescue.
2) Bull float (if applicable) with the right pressure
On larger pours, bull float after screeding while the surface still looks plastic, keep the leading edge slightly up so it doesn’t dig. One or two passes, then stop. More passes often mean more paste and more trouble later.
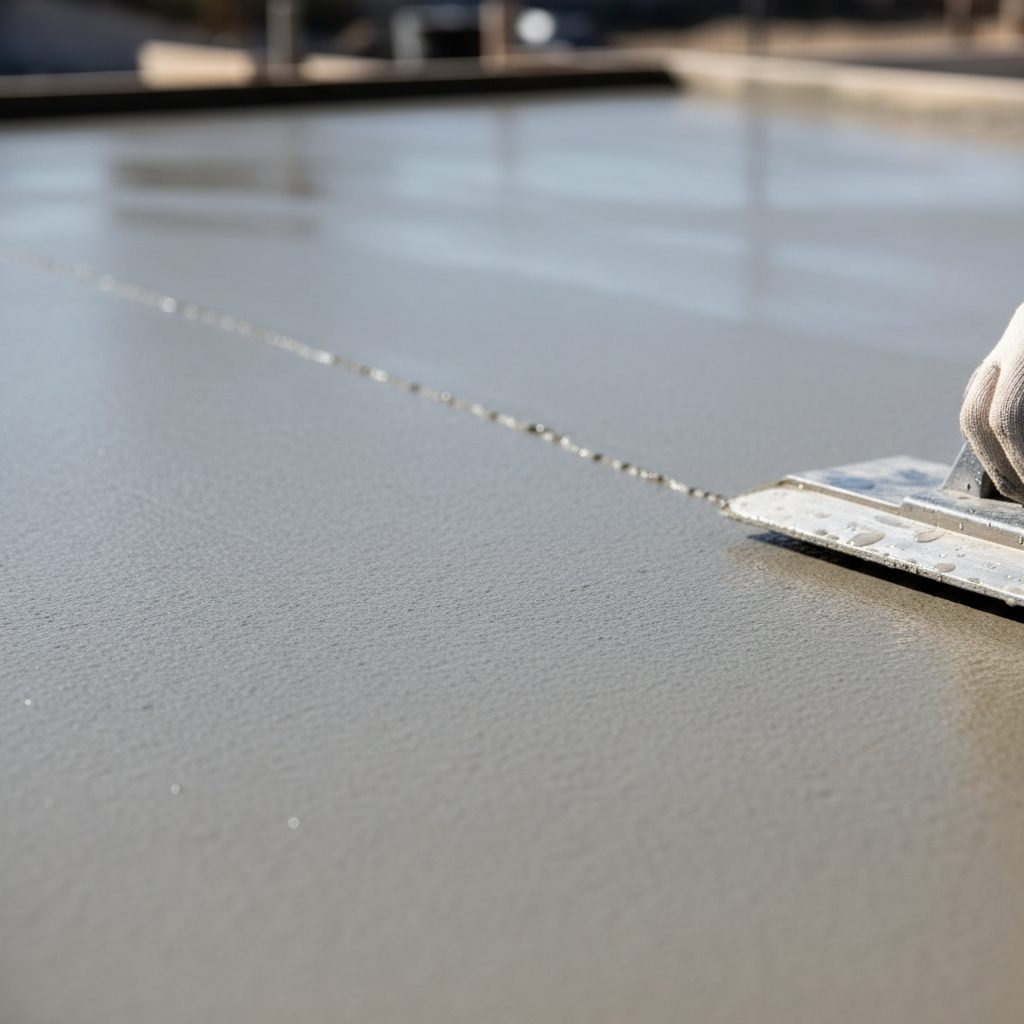
3) Wait for bleed water to finish, then hand float
Once bleed water dissipates, use your hand float in overlapping arcs. Moderate pressure, let the tool do the work. If you see water pooling in front of the float, you’re early or pushing too hard.
- Edges first: do perimeter zones and around penetrations while the field catches up.
- Keep it clean: rinse or wipe grit off the float, a single pebble can score the surface.
4) Decide: broom, steel trowel, or leave as float finish
For exterior flatwork, many specs call for broom texture after floating and edging. For interior work, you might move toward steel trowel passes, but only after the slab can take it without sealing in moisture.
According to Portland Cement Association (PCA), finishing should avoid working bleed water back into the surface, because it can reduce durability. If your “smoothing” relies on water, it’s usually the wrong direction.
Practical tips that make floating easier (without gimmicks)
- Use the float’s full face: don’t tilt onto a corner unless you intend to cut, a flat tool face reduces grooves.
- Feather your pass ends: ease pressure as you lift off, that’s where many ridges begin.
- Work in a consistent pattern: overlap by about one-third of the tool width so you don’t leave “lanes.”
- Mind the edges: a dinged float edge can carve lines, dress the edge or swap tools.
- Plan for sun and wind: windbreaks, shade, or evaporation reducer can help, but product selection should follow manufacturer guidance.
If you only take one tip, stop chasing “glass smooth” during the float stage. Aim for flat and uniform, then choose the final texture step that fits the slab’s use.
Mistakes to avoid in concrete float tool finishing
A few habits look productive in the moment, then create defects that show up later.
- Adding water to the surface to help it glide: this can weaken the top layer, increase dusting risk, and cause flaking in freeze-thaw climates.
- Over-floating: too many passes can bring excess paste up, increasing shrinkage cracks and surface scaling risk.
- Steel too soon: premature steel finishing can seal the surface, leading to blistering or delamination in some conditions.
- Ignoring curing: even a good finish can fail if curing is skipped or delayed.
According to Occupational Safety and Health Administration (OSHA), cement products can cause skin irritation and burns, so gloves, eye protection, and washing practices are worth taking seriously. If you’re unsure what PPE fits your site, it’s reasonable to ask a supervisor or safety pro.
When to bring in a pro (or at least ask for a second set of eyes)
Some slabs are unforgiving, and the cost of a bad finish is higher than a quick consult.
- Large placements where timing varies across the pour, especially with sun exposure differences
- High-spec floors (warehouse, polished, epoxy-coated) where flatness and surface profile matter
- Cold weather pours, fast-set mixes, or admixture-heavy designs where finish windows behave differently
- Recurring defects like scaling, dusting, or widespread blistering, which can indicate mix or curing issues
If you’re seeing repeat problems, a local concrete finisher or ready-mix technical rep can often diagnose whether the issue is mix design, placement, finishing timing, or curing plan.
Key takeaways + a simple action plan
- Float timing beats float brand: wait until bleed water disappears, then work the surface with controlled pressure.
- Use the right tool for the stage: wood and magnesium early/mid, steel later if your finish calls for it.
- Don’t “fix” with water: it can make smoothing feel easier and durability worse.
- Plan the final texture: float finish, broom, or trowel each has a different target surface.
If you want a cleaner result on your next pour, do two things, tighten your screed work so the float isn’t forced to level waves, and run the bleed-water check before every hand-float pass.
FAQ
- What is the best concrete float tool for finishing a driveway?
For many driveway broom finishes, a magnesium or wood float works well because it leaves the surface open enough to take texture. Your choice often depends on how tight the slab gets in your climate and how much paste the mix brings up. - Can I use a steel float to smooth concrete right after screeding?
Usually that’s risky, steel can seal the surface too early and trap moisture. Many finishers wait until the slab has firmed and bleed water is gone, then use steel only if a tighter finish is needed. - Why does my float leave lines or grooves?
Common causes include a nicked float edge, too much tilt, debris stuck on the tool, or floating when the surface is crusting. Cleaning the float and keeping the face flatter often fixes it quickly. - How many times should I float concrete?
Often fewer passes look better long-term. One bull-float sequence (if used) and one hand-float sequence after bleed water dissipates covers many slabs, extra passes can bring up too much paste. - What does it mean if water comes up when I float?
It can mean you’re early or pressing too hard, which can pull water and fine particles to the top. Waiting a bit and using lighter pressure tends to reduce that “soupy” look. - Is a resin/composite float better than magnesium?
It can be, especially for consistent glide and smoother texture on tighter mixes. But if you need the surface more open for broom texture, magnesium or wood may feel more forgiving. - Do I need to cure concrete after floating?
Yes, in most cases curing matters as much as finishing. If you’re not sure which method fits your project, curing compound or wet curing choices should match local practice and product guidance.
If you’re trying to standardize your process or pick tools that match your typical slabs, it helps to think in “stages” instead of brands, what you float with early, what you touch later, and what finish you actually need, if you share your slab type and target texture, you can usually narrow the setup fast.