
Masking tape painting easy sounds like a shortcut, but clean lines usually come from a few small habits: surface prep, the right tape for the job, and removing it at the right moment.
If you’ve ever peeled tape and found paint bleeding underneath, lifted drywall paper, or a “crisp stripe” that turned into a fuzzy edge, you’re not alone. Most of the time it’s not your brush control, it’s the tape-surface-paint combo.
This guide breaks down why tape lines fail, how to pick tape that matches your surface, and a repeatable method you can use for walls, trim, stripes, and accent shapes without overthinking it.
Why “clean lines” go wrong (it’s usually not the tape’s fault)
Paint bleed and ragged edges tend to come from a handful of predictable causes. Once you spot which one you’re dealing with, fixes get simple.
- Dust or texture keeps tape from sealing. Even a little sanding dust, lint, or orange-peel texture creates tiny channels for paint to creep under.
- Wrong adhesion level. High-tack tape can pull fresh paint or drywall paper, while low-tack tape may not seal well on semi-gloss trim.
- Paint pushed into the edge. Heavy rolling straight into the tape line forces paint under it, especially with thinner paints or overworked strokes.
- Too much time on the wall. Many tapes bond more aggressively the longer they sit, and paint can “bridge” over the edge.
- Humidity and dry time surprises. In damp rooms, paint stays soft longer, so removal timing matters more than people expect.
According to 3M, surface cleanliness and proper application pressure affect how well painter’s tapes adhere and resist paint seepage. That matches what you see in real projects: prep and pressure usually beat “buy a pricier roll.”
Quick self-check: what’s happening on your project?
If you want masking tape painting easy results, diagnose first. This takes one minute and saves an hour of touch-ups.
- Bleed under tape: Likely dust/texture, light pressure when applying, or paint loaded too heavy near the edge.
- Paint peels up with tape: Often tape left too long, paint not fully cured underneath, or adhesion too strong for the surface.
- Jagged edge but no bleed: Tape edge not straight, tape stretched during application, or the surface has heavy texture.
- Gaps around corners: Tape not burnished into the corner, or the corner has caulk gaps/old paint ridges.
One more honest check: if you’re painting over heavy knockdown texture, “laser sharp” lines may be unrealistic without extra steps like caulking or an edge-seal coat.
Choosing the right tape (and when “masking tape” isn’t the right answer)
People say “masking tape” as a catch-all, but the type matters. Here’s a practical cheat sheet.
| Use case | What to look for | Why it helps |
|---|---|---|
| Smooth interior walls | Painter’s tape, medium tack | Good balance of seal + safe removal |
| Freshly painted walls | Delicate-surface painter’s tape (low tack) | Less risk of lifting new paint |
| Semi-gloss trim / doors | Painter’s tape with stronger tack or trim-specific tape | Better seal on slick surfaces |
| Outdoor projects | UV-resistant painter’s tape | Reduces adhesive bake-on in sun |
| Curves (arches, waves) | Flexible fine-line tape or automotive line tape | Follows curves without kinks |
Plain beige masking tape can work for quick protection, but it’s more likely to leave residue, tear, or allow bleed on many wall paints. If you’re after crisp stripes or two-tone edges, painter’s tape or fine-line tape usually performs more predictably.
The repeatable method for crisp lines (walls, trim, stripes)
This is the part that makes the “easy” in masking tape painting easy feel real. The goal is a sealed edge and controlled paint load.
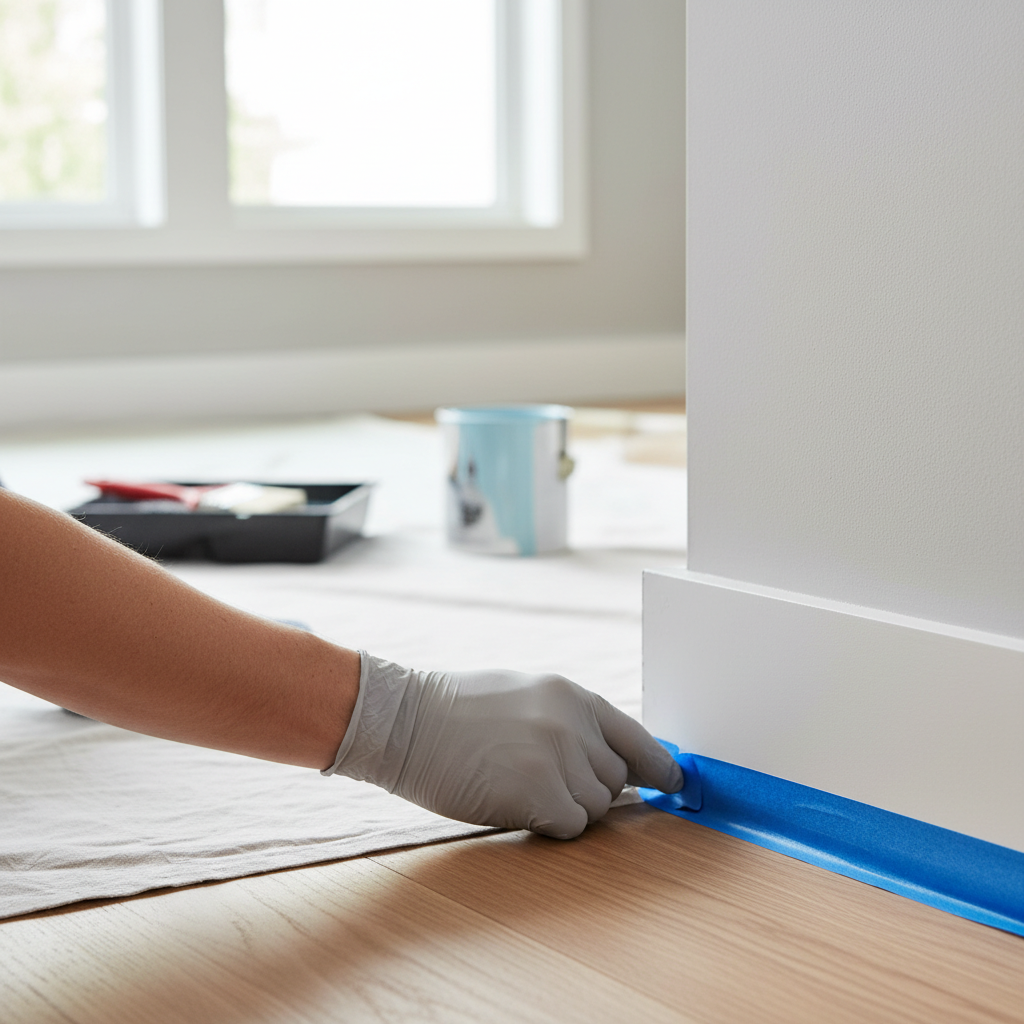
1) Prep the surface where tape will sit
- Wipe the area with a clean, slightly damp cloth to remove dust, then let it dry.
- If the wall has sanding dust, vacuum first, then wipe. Dust is sneaky.
- On glossy trim, a light scuff sand can help, but if you’re unsure, test a small area or ask a paint pro, especially on older finishes.
2) Apply tape without stretching it
- Run shorter sections for corners and curves, long pulls invite misalignment.
- Keep the tape relaxed, stretching can cause it to lift back later.
- Overlap seams slightly so paint can’t sneak through a gap.
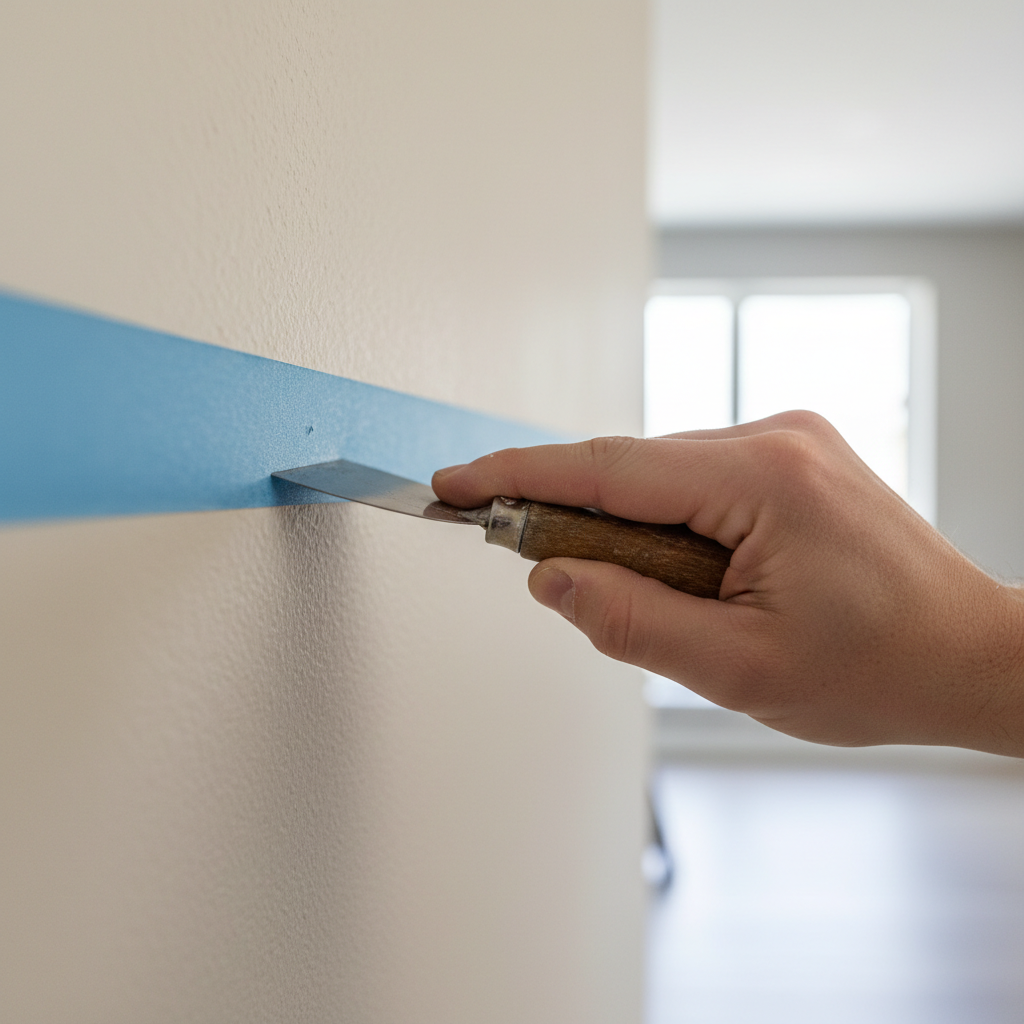
3) Burnish the edge (this is where clean lines are born)
Press the tape edge down firmly using a plastic putty knife, a 5-in-1 tool, or even a credit card. Fingers work, but tools apply more even pressure, especially on textured paint.
4) Seal the tape edge (optional, but high payoff)
If bleed is your recurring problem, sealing helps a lot:
- For wall-to-trim transitions: Paint a thin coat of the existing/base color along the tape edge first. Let it dry, then apply the new color.
- For stripes on textured walls: Consider a very thin bead of paintable caulk along the tape edge, then smooth it. This can fill micro-gaps, but it’s slower and takes a light touch.
5) Paint with “away-from-the-edge” strokes
- When brushing near tape, don’t jab paint into the edge, pull the brush away from the tape line.
- When rolling, keep the roller slightly off the tape edge, then lightly blend toward it with less paint loaded.
- Two lighter coats beat one heavy coat for clean edges.
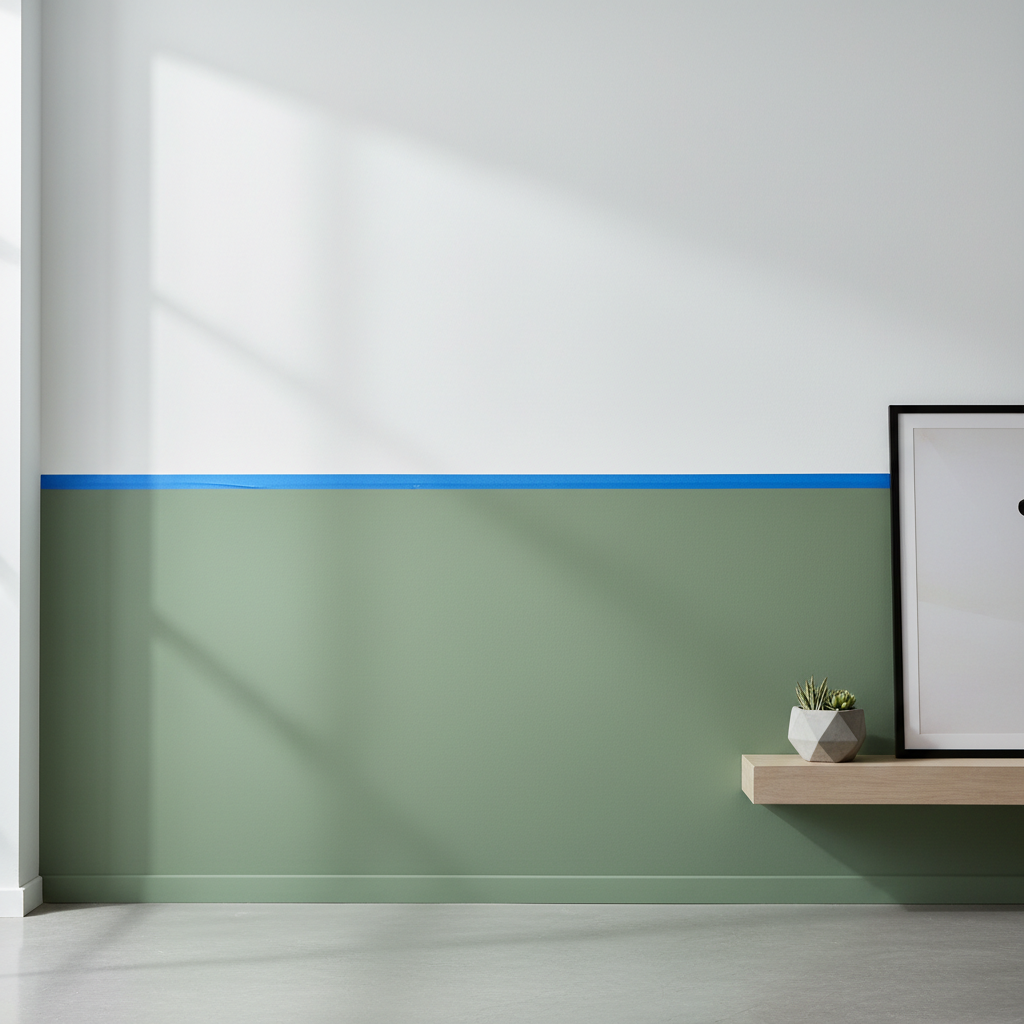
When to remove tape (timing matters more than most tips)
Removal is where many clean lines get ruined at the last second. You’re trying to avoid tearing a dry paint “film” that has bridged onto the tape.
- Often best: remove tape when the paint feels set but not fully hardened, usually within a few hours. Exact timing depends on paint type, temperature, and humidity.
- If paint dries hard: score the edge lightly with a sharp utility knife before peeling. Use gentle pressure so you don’t cut into the wall.
- Peel technique: pull tape back on itself at a low angle (around 45 degrees) and go slow near corners.
According to Benjamin Moore, cure time is different from dry time, and coatings can feel dry while still being vulnerable. If you’re taping over a newly painted surface, that distinction becomes important.
Troubleshooting: quick fixes when lines still aren’t perfect
Even with good tape, a few surfaces fight back. Here are realistic fixes that don’t require repainting the whole room.
- Small bleed spots: Let paint dry, then use a small angled brush to cut in with the base color. Trying to wipe wet bleed often smears it wider.
- Ragged edge on texture: Lightly sand the ridge (if safe for your finish), dust off, then touch up. For future stripes, use edge-seal or caulk method.
- Adhesive residue: Warm water and mild soap can help. If it persists, try a small hidden test with a gentle adhesive remover that’s safe for painted surfaces.
- Lifted paint: Feather sand the area, prime if needed, then repaint. If drywall paper tears, you may need a sealer primer; if unsure, a paint store can usually guide you based on photos.
Key takeaways for “masking tape painting easy” results
- Clean + dry surface beats buying a random “better” tape.
- Burnishing is the difference between “taped” and “sealed.”
- Seal the edge when you need showroom lines, especially on texture.
- Paint lightly near the edge, heavy coats create bleed and ridges.
- Remove at the right time, and score if paint bridges.
Conclusion: a clean line is a process, not a lucky peel
Masking tape painting easy is totally achievable once you treat tape as a finishing tool, not a magic barrier. Get the surface clean, press the edge like you mean it, control paint load, then remove tape with decent timing, and you’ll see your lines tighten up fast.
If you’re painting this weekend, pick one upgrade that fits your pain point: burnish more carefully, or add the quick edge-seal coat. Those two changes usually give the biggest jump in results.
FAQ
What’s the difference between masking tape and painter’s tape for clean lines?
Masking tape is more general-purpose and can stick aggressively or tear, while painter’s tape is designed to remove cleaner and resist paint seepage. For crisp edges on walls and trim, painter’s tape is usually the safer bet.
How long should I leave painter’s tape on before painting?
You can paint right after application as long as the edge is pressed down well. The bigger concern is how long it stays on after painting; leaving it for days can increase bonding and make removal messier.
Should I remove tape while the paint is wet or dry?
Many situations go best when paint is set but not fully hardened. If it’s fully dry and you feel resistance, scoring the edge lightly before peeling can reduce tearing.
How do I stop paint from bleeding under tape on textured walls?
Texture creates micro-gaps, so burnishing matters more, and sealing the edge with the base color (or a thin caulk method) often helps. Expect that ultra-sharp lines can be harder on heavy texture.
Can painter’s tape pull off fresh wall paint?
It can, especially if the underlying paint has not cured or if the tape tack is too strong. When in doubt, use delicate-surface tape and test in an inconspicuous area.
Do I need to caulk along painter’s tape for perfect lines?
Not always. Caulk can improve lines on rough surfaces, but it adds time and can look messy if applied too thick. Many people get most of the benefit by sealing with the base color instead.
What if I already painted and the line looks bad?
Let it dry, then touch up with a small angled brush using the base color. Trying to “fix” wet edges usually spreads the problem, and it’s harder to control.
If you’re painting multiple rooms or planning stripes and accent shapes, and you’d rather not guess which tape, sealing method, and removal timing fits your surface, a simple checklist and supply plan can save a lot of back-and-forth at the paint store.