
Plumber putty sealing is usually the fastest way to stop annoying seepage around a faucet base, sink strainer, or drain flange, but only when you use it in the right spot and with the right prep. If you’ve ever tightened everything “until it feels right” and still found water in the cabinet, you’re not alone.
The tricky part is that putty is not a universal sealant, it’s a compressible gasket material. It shines when it’s trapped between two rigid surfaces, but it can fail when it’s exposed, applied too thin, or used on materials that don’t like oils. This article walks you through where putty works, where it tends to disappoint, and how to get a clean, long-lasting seal without overthinking it.
I’ll also call out the common mistakes that cause slow leaks days later, plus a quick decision guide for when silicone sealant makes more sense than putty.
Where plumber’s putty works (and where it doesn’t)
Plumber’s putty is meant to be compressed between parts, not smeared like caulk. In real installs, it’s most reliable when the joint has hardware that clamps down evenly.
Good use cases in most homes:
- Under a sink strainer flange (kitchen or bathroom)
- Under a faucet base plate or faucet trim ring (when manufacturer allows)
- Under a tub drain flange in many traditional assemblies
Often a bad idea (or at least “check first”):
- Porous stone, some composites, or surfaces that can stain from oils
- Areas that flex, move, or vibrate a lot
- Any joint the manufacturer explicitly says must use silicone
According to Moen installation guidance across multiple faucet lines, silicone is commonly specified where a watertight barrier is needed at the deck interface. In other words, if your faucet manual calls for silicone, don’t substitute putty and hope the clamp force saves you.
Why plumber putty sealing fails in the real world
Most failures are boring, not mysterious. The putty didn’t get the conditions it needs to act like a gasket, so water finds a path.
- Dirty or wet surfaces: a thin film of water, soap scum, or old silicone can create channels.
- Not enough compression: hand-tight plus a “small tweak” sometimes isn’t enough to squeeze putty into micro-gaps.
- Over-tightening: yes, that can also cause leaks, especially if parts warp, crack, or squeeze out too much material.
- Wrong product for the surface: some putties contain oils that can discolor certain stones or plastics.
- Mixed sealants: old silicone residue can prevent putty from bedding evenly, so it seals in spots and gaps in others.
If you’re seeing a leak only when the sink is full or when the sprayer points back toward the faucet base, that usually suggests water is getting under trim rather than failing at the threaded plumbing connection.
Quick self-check: is putty the right fix for your leak?
Before you pull everything apart, a quick read on the symptoms saves time.
- Water appears only when the basin holds water: likely sink strainer or drain flange.
- Water appears when faucet runs and splashes near the base: likely faucet base seal (deck interface).
- Drips show up at a nut/connection even without splashing: likely a supply line, compression joint, or cartridge issue, not a putty problem.
- Surface is marble, granite, quartz, or unknown composite: putty may stain; consider silicone approved for stone.
If you can’t tell whether the leak starts above the deck or below it, dry everything, then run water while watching with a flashlight. A paper towel pressed around suspect seams can also show the first wet point.
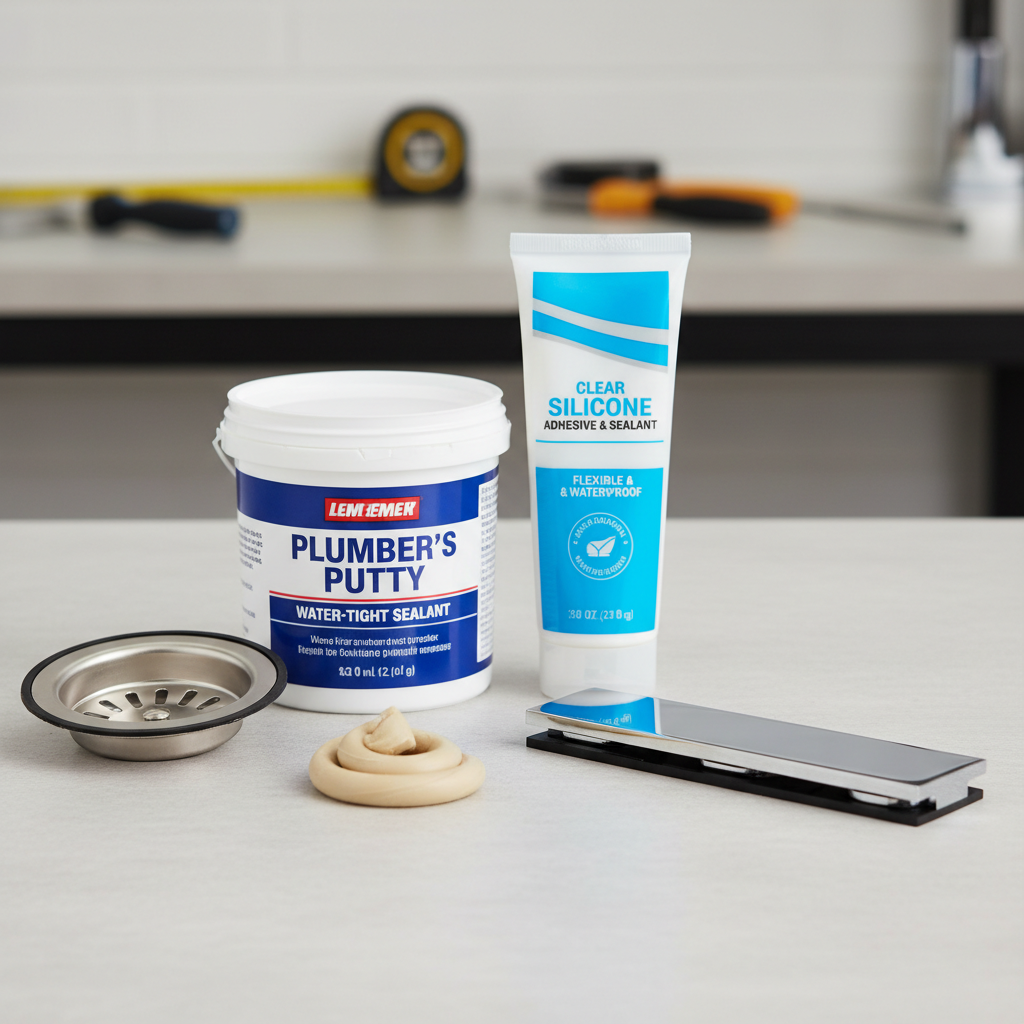
Plumber’s putty vs silicone: a practical comparison
People get stuck here, so let’s make it concrete. Both can seal, but they behave differently and that changes the “best” choice.
| Situation | Plumber’s Putty | Silicone Sealant |
|---|---|---|
| Sink strainer flange | Common choice, easy to service later | Works, but removal can be messy |
| Faucet base on manufacturer-approved surfaces | Sometimes OK if allowed and fully compressed | Often specified by brands for watertight deck seal |
| Porous stone or stain-sensitive materials | Risk of discoloration depending on formula | Usually safer if labeled for kitchen/bath and stone |
| Areas with movement or vibration | Can creep over time | Typically holds better once cured |
| Need to disassemble later | Easy cleanup, parts separate more easily | Stronger bond, may require scraping/cutting |
According to GE Appliances care guidance commonly shared for kitchen and bath sealing, silicone is used where a flexible, water-resistant seal is needed around fixtures. That flexibility is why it’s often preferred for deck seams, especially if the faucet base doesn’t clamp perfectly flat.
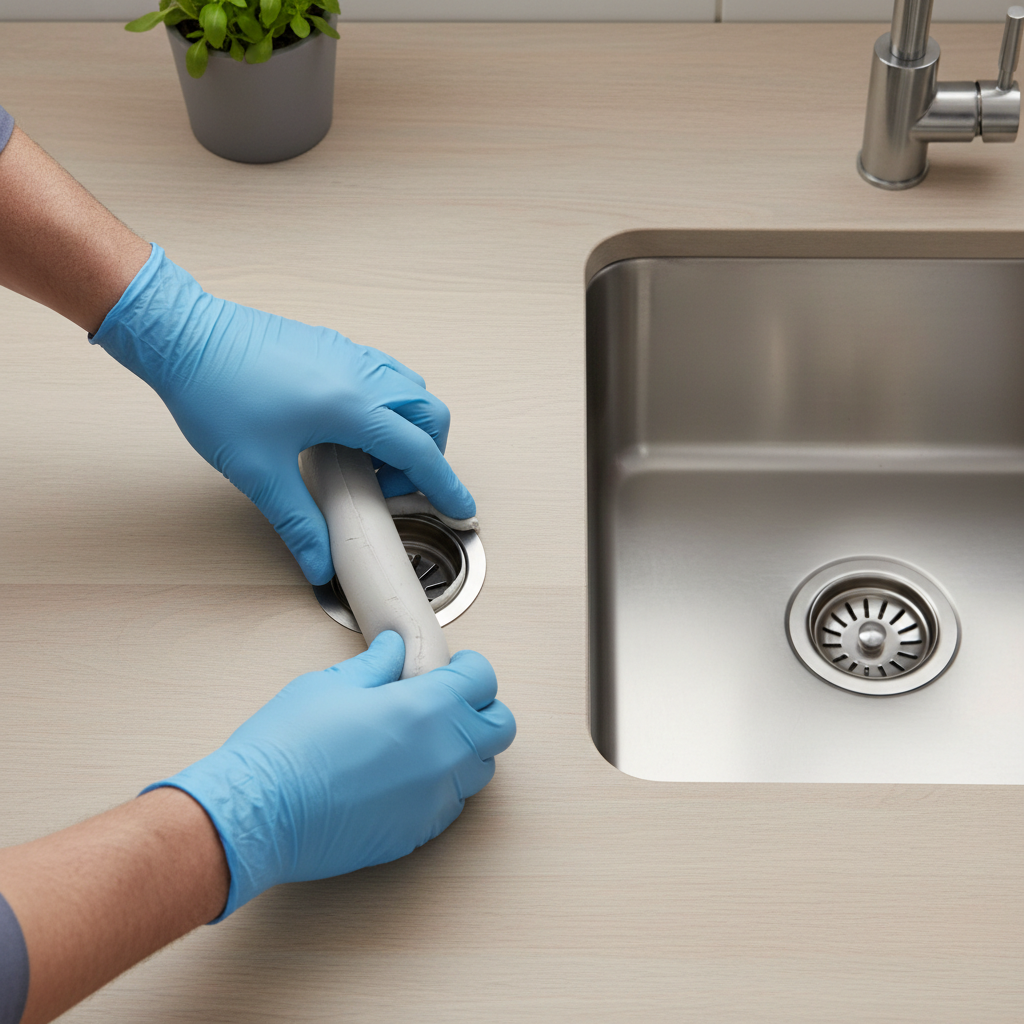
How to apply plumber’s putty for sinks and faucet bases (step-by-step)
This is the part most DIY guides rush. The goal is consistent thickness and even squeeze-out, not a giant wad that oozes everywhere.
1) Prep: clean and dry matters more than you think
- Remove old putty or silicone fully, especially on the underside lip.
- Clean with mild soap and water, then wipe dry.
- If you see oily residue, a little isopropyl alcohol on a rag often helps, but avoid harsh solvents on plastics.
2) Roll the putty like a rope
- Roll between palms into a uniform rope, usually 1/4 inch thick for many strainers and trim rings.
- Avoid thin spots; thin spots become leak paths when compressed.
3) Seat the part and compress evenly
- Press the flange/base straight down, don’t twist aggressively unless instructions suggest it.
- Tighten hardware evenly, alternating sides when possible.
- Stop when you see a consistent bead squeeze out around the perimeter.
4) Clean the squeeze-out the right way
- Wait a minute or two so it firms slightly, then peel away the bead with a plastic scraper or your finger.
- Wipe lightly; don’t dig into the seam and pull putty back out.
Key point: plumber putty sealing works because the putty stays trapped and compressed. If you can see a thick exposed line after cleanup, you probably used too much or didn’t tighten evenly.
Troubleshooting: still leaking after re-sealing?
When a leak persists, it’s usually one of a few repeat offenders. Fix the actual cause and the putty starts “working” again.
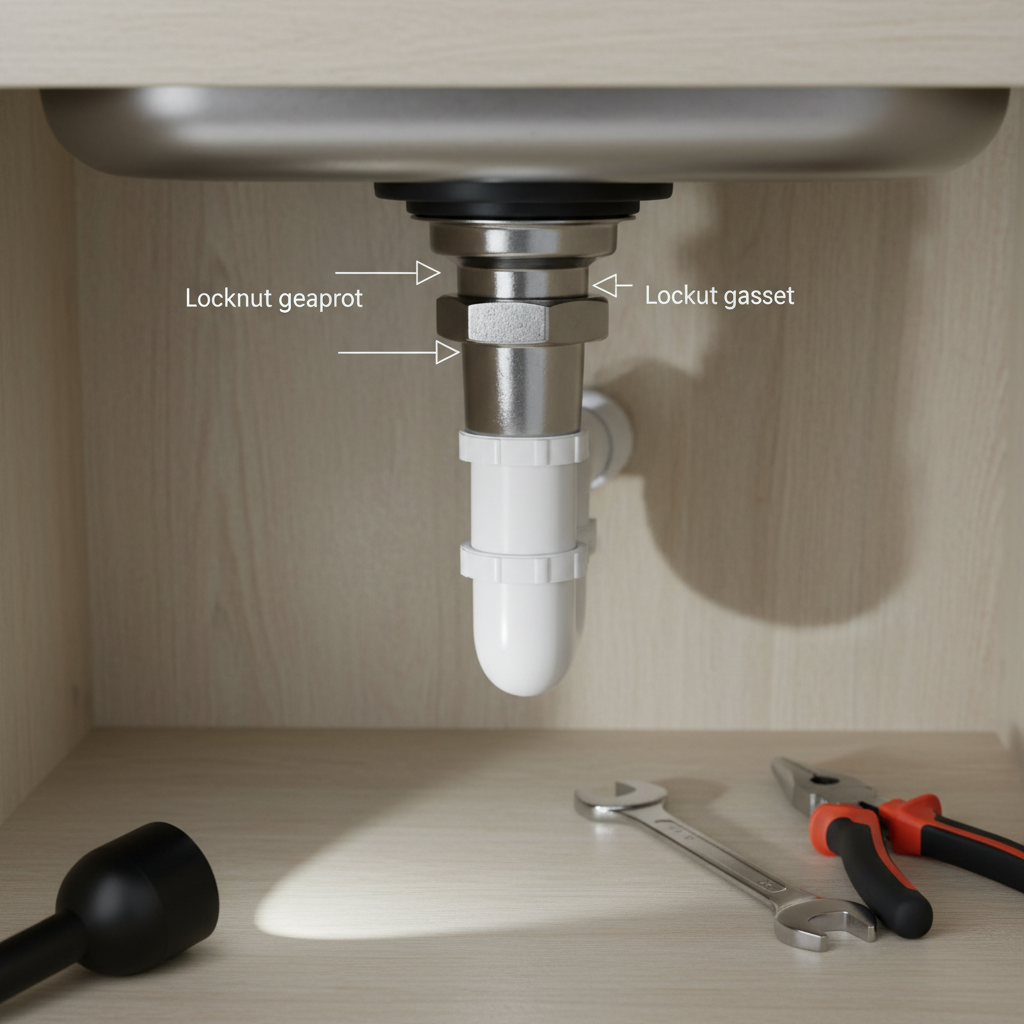
- Leak from below the sink strainer: the rubber gasket or friction ring under the sink may be mis-seated, or the locknut isn’t evenly tightened.
- Water wicks along threads: putty is not thread sealant; you may need pipe thread tape or pipe dope on threaded drain connections, depending on the fitting type.
- Warped or pitted surfaces: old strainers and rough sink openings sometimes need a new flange, not more sealant.
- Faucet base rocks slightly: movement breaks the seal; check mounting hardware and whether a deck plate gasket is missing.
If the leak is intermittent and shows up after hot water use, thermal expansion can expose small gaps. That’s one reason many faucet brands prefer silicone at the deck line.
Mistakes to avoid (these waste the most time)
- Using putty on stain-prone stone: if you’re unsure, test in a hidden spot or switch to a stone-safe sealant.
- Putting putty over old silicone: it won’t seat cleanly, and you’ll chase a leak that never fully stops.
- Assuming “more putty = better seal”: too much can prevent parts from sitting flat.
- Skipping the manufacturer instructions: faucet and strainer designs vary, and some require a foam gasket instead of putty.
According to Delta Faucet installation materials for many products, following the specified sealing method is part of ensuring proper performance. In practice, that means: if the manual shows a gasket, use the gasket; if it calls for silicone, use silicone.
When to call a pro (or at least get a second opinion)
Most sealing jobs are DIY-friendly, but a few situations deserve more caution.
- Active leak near electrical outlets or a garbage disposal: shut off power where appropriate and consider a licensed plumber.
- Cracked sink, countertop, or drain body: sealant can hide symptoms while damage worsens.
- Recurring leaks after careful reassembly: there may be misaligned parts, incompatible fittings, or a hidden supply-line issue.
- Uncertain material (stone/composite) and high-end finishes: a wrong sealant choice can cause staining that’s hard to reverse.
If you suspect mold, rot, or long-term cabinet damage, it’s reasonable to talk with a professional so the repair addresses both the leak and what it affected.
Conclusion: a clean seal comes from fit + compression, not magic putty
If plumber putty sealing has failed you before, it’s usually because the joint needed silicone, the surface prep was rushed, or the hardware never compressed evenly. Pick the sealant the fixture expects, keep the surfaces clean and dry, and aim for an even squeeze-out that you can peel away neatly. If you want one practical next step, pull the manual for your faucet or strainer model and confirm whether putty is approved, then reseal once, carefully, instead of tightening the same leaky joint over and over.
FAQ
Can I use plumber’s putty to seal around a faucet base?
Sometimes, yes, but it depends on the faucet design and the manufacturer instructions. Many faucets are designed for a gasket or silicone at the deck, and putty can be a poor substitute if the base doesn’t compress evenly.
How long does plumber’s putty take to “cure”?
It typically does not cure like silicone, it stays pliable. That’s helpful for serviceability, but it also means the seal relies on compression staying consistent over time.
Why is water still getting under my sink strainer after I used putty?
Common causes include a mis-seated under-sink gasket, uneven tightening, or a rough sink opening. In some cases the strainer body itself is warped, and resealing won’t fix that.
Is plumber’s putty safe for granite or marble sinks/countertops?
It can be risky because some formulas may stain porous stone. Many homeowners choose silicone labeled for kitchen/bath and compatible with stone, or they confirm “stain-free” putty suitability before using it.
Do I need Teflon tape if I’m using plumber’s putty?
They solve different problems. Putty seals flanges and trim surfaces, while thread tape or pipe dope addresses threaded connections where water can wick through threads.
How tight should I tighten a sink strainer locknut?
Tight enough to get consistent squeeze-out and a firm, stable flange, but not so tight that parts distort. If the strainer or sink flexes noticeably, back off and re-check alignment.
Should I remove the old putty or can I add more?
Remove it. Adding more usually traps debris and creates uneven bedding, which is exactly how slow leaks start.
If you’re in the middle of a re-seal and want a more predictable, lower-mess result, consider using a fixture-approved sealing product and a simple checklist for your specific sink or faucet setup, it saves the “take it apart twice” problem more than any trick does.